Sunday, December 22, 2013

Christmas Fab on a Budget- Home Made Ornaments

 Christmas Fab On A Budget- Hand Made Ornaments
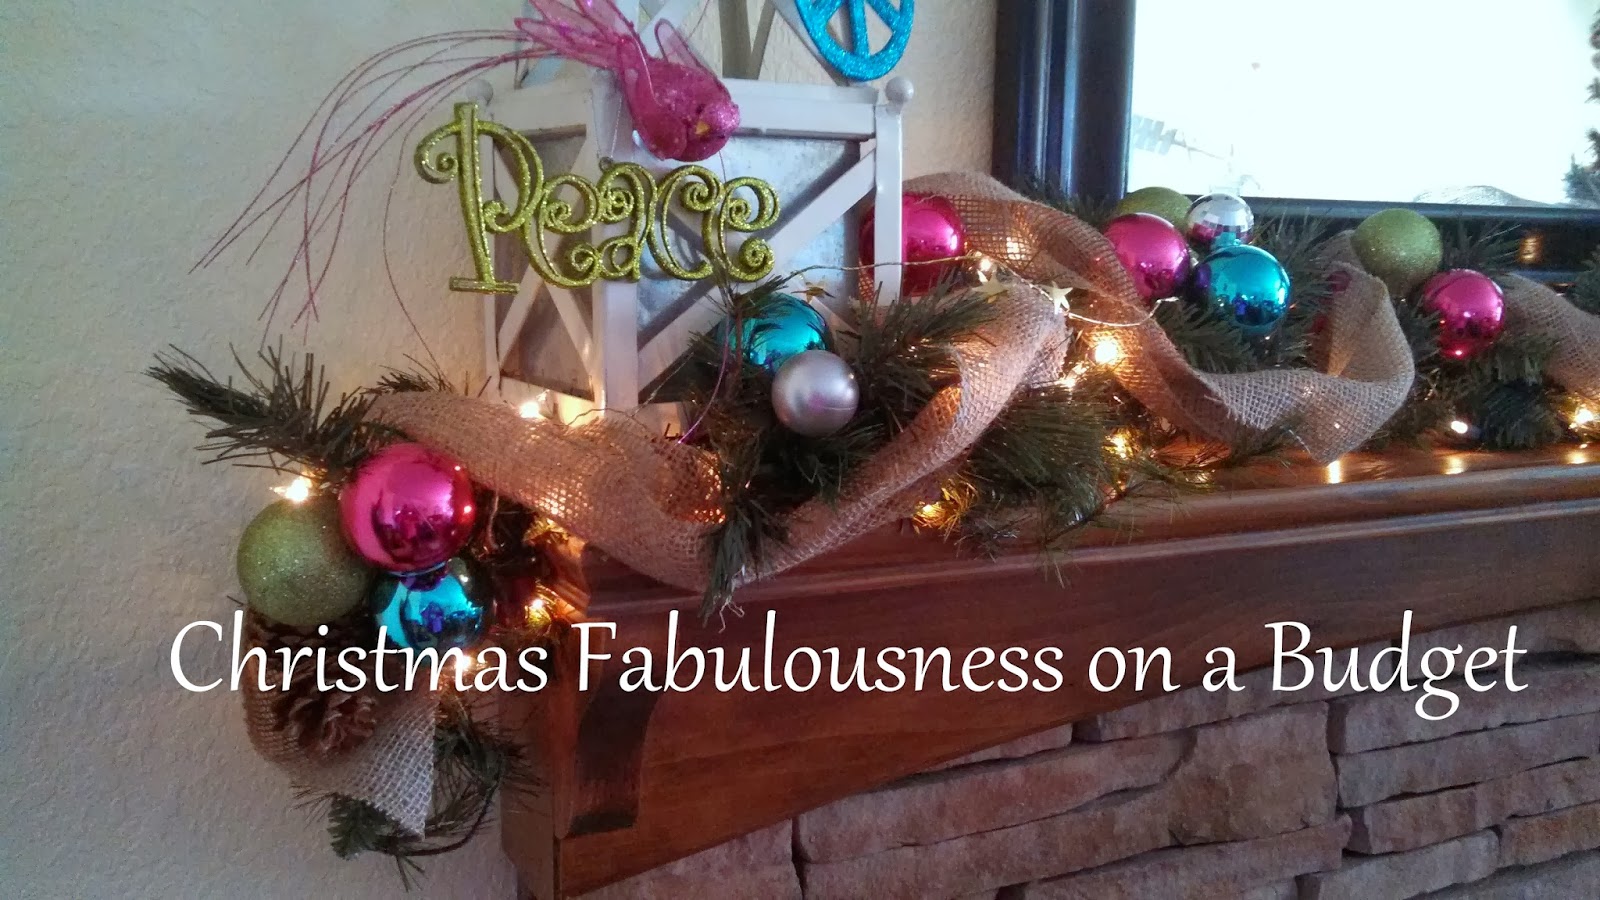


Here's a sneak Peak!  


I'm kind of in love with them:)
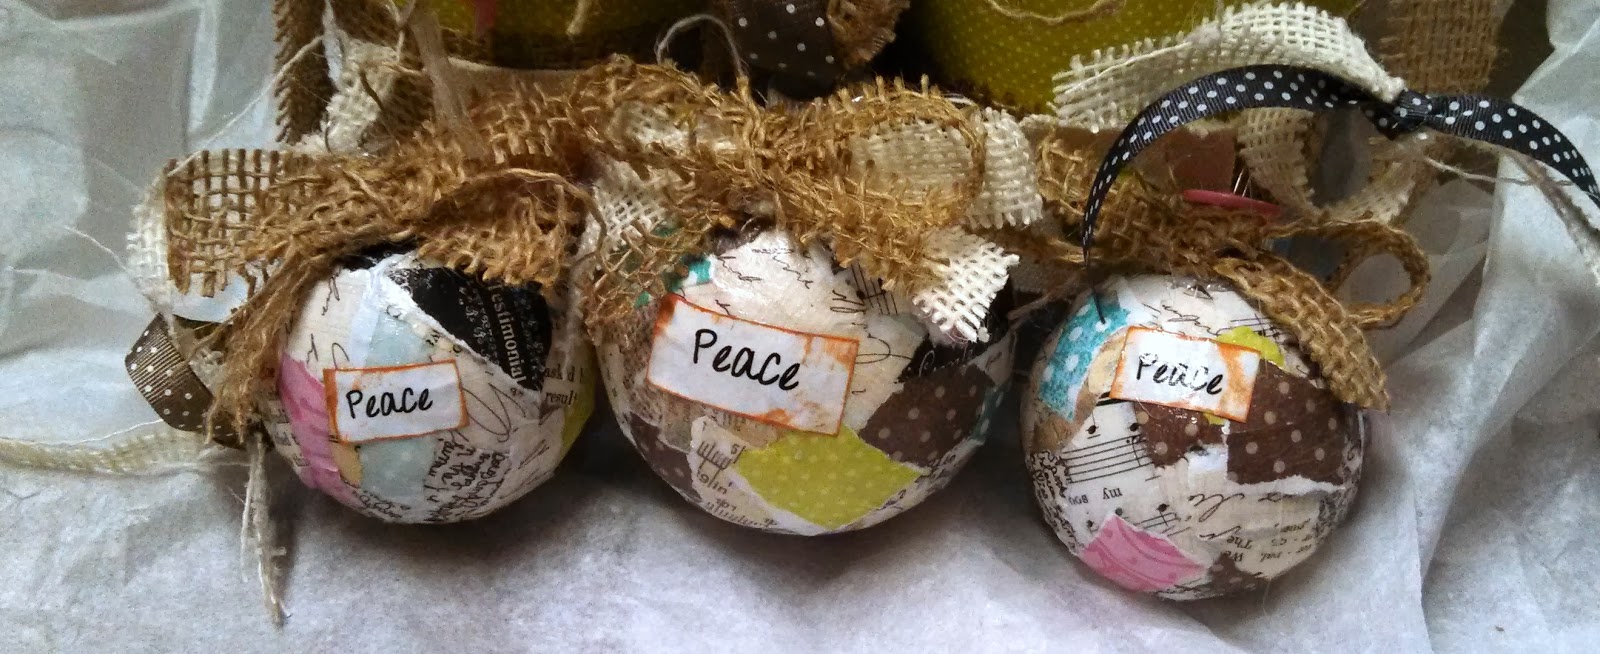
They are Scrap-a-licious and Probably the Messiest Craft I have ever done!  Consider yourself 'FairlyWarned'!

 So this year I Really, Really wanted to make a little something for Friends, Fam and Neighbors.  As you may have already guessed, I am a bit Obsessed with Collaging Scraps of Paper....
I pretty much do it in my sleep...

SO!  When I scored these Clear Frosty Ornament Packs for a Buck a Piece on my Epic Thrift Shop Run, I knew that Mod Podgey Messiness was in my Near Future.
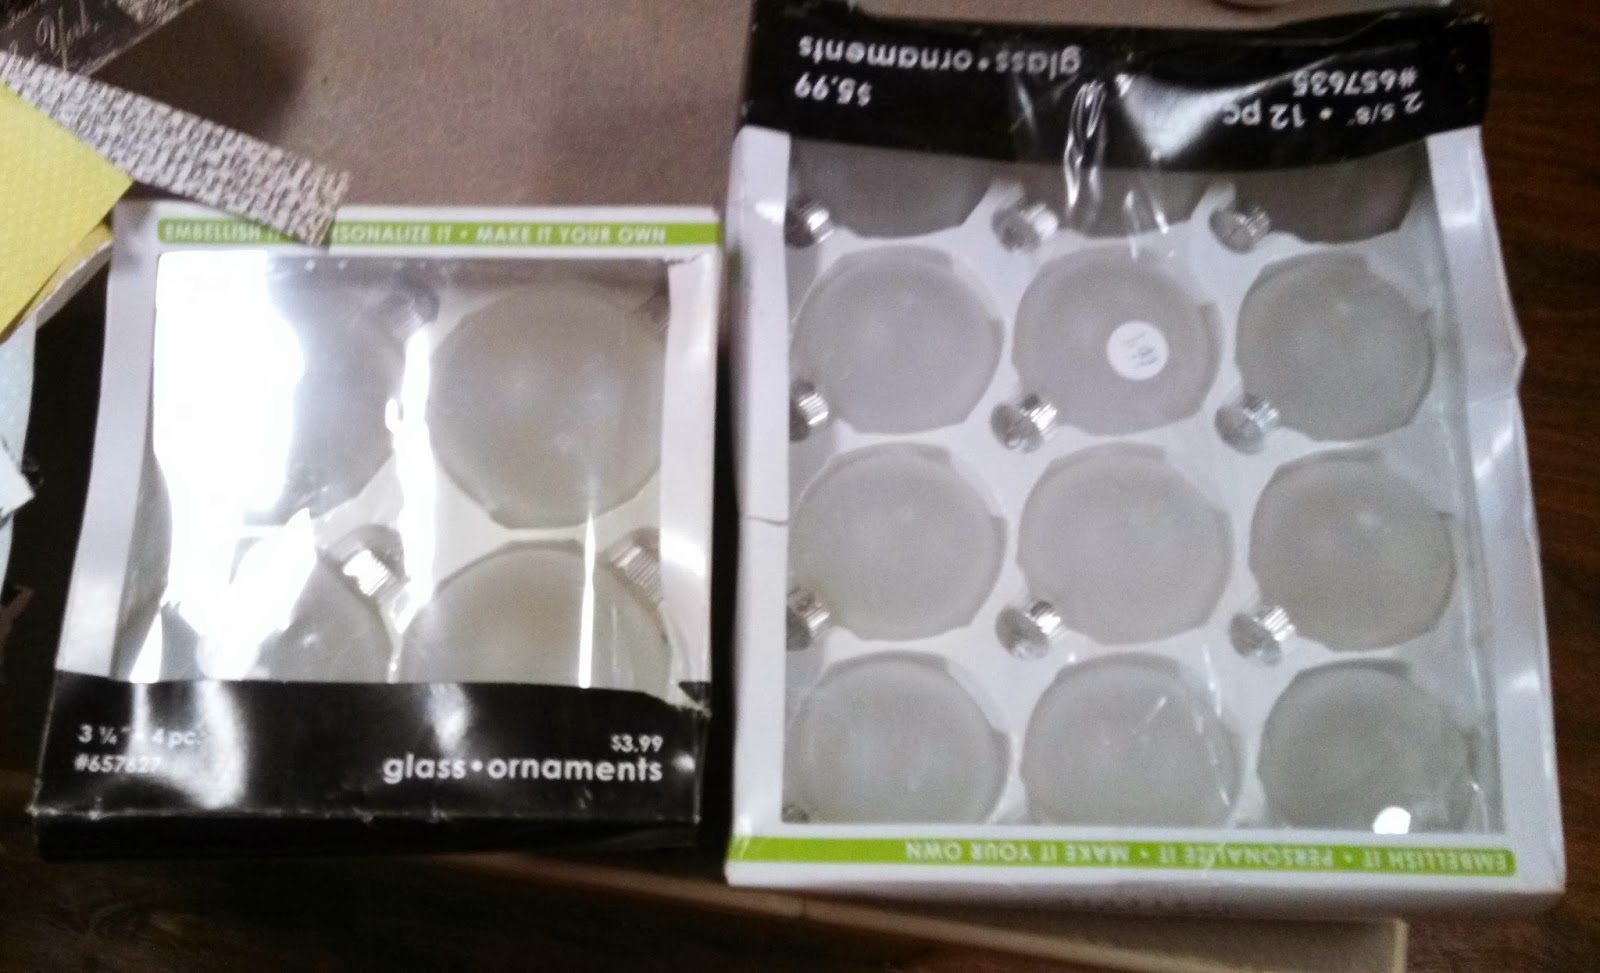


So Here we go!

First I grabbed a bunch of My Favorite Scrap Papers.  I wanted to go Tan/Neutral and a wee bit of Pink and Pale Blue.  Mine did end up pretty "Country"  but you could use any Color Scheme...even Go Glitter-tastic...Use what you love!


I used this Plastic 12 x 12 to kind of keep the Mess under Control....Ya...it didn't Work at ALL!!!
Look at this!!!


Ya- that's my Coffee Table.  I waited til the Hubby was asleep to Minimize the Chaotic-Impact but again...Messy IS my Middle Name:)


Here is my Supply list:
1.  Glossy Mod Podge...a lot of it:)
2.  A cheapy 'Pastry Brush' type brush...or Foamy thingees.
3.  Pre-torn papers
4.  TV Clicker for watching Old Christmas Movies
5.  Assorted Beverages

My son Nick is my "Personal Beverage Consultant".  I rarely travel anywhere without at least 4 different beverages- so I retained his services to keep me Supplied as I worked.

 In this shot, Nick was in the process of bringing me my Frosty Diet Pepsi....I don't recommend you Ever begin Crafting without Securing a Goodly Supply of Diet Pepsi.  Consider a Beverage Consultant/Technician...they will often work in exchange for Baked Goods...and you are worth it...

First of all take all the tops off.  You can stand the Wet Ornaments upside down on the tops to dry.


Here- I am beginning the process with Covering Half of the Bulb at a time in Mod Podge.  I thought I'd just stick on a bunch of scraps and then cover them again with more Podgey Goodness.

It wasn't quite that easy.  I ended up having to coat each paper scrap top and bottom and then apply it...SO my hands, and most of my Upper Body, were covered with Mod Podge.  If you fear the Messy...perhaps this is not the craft for you:)

But they are "Todes Adorb!!!"


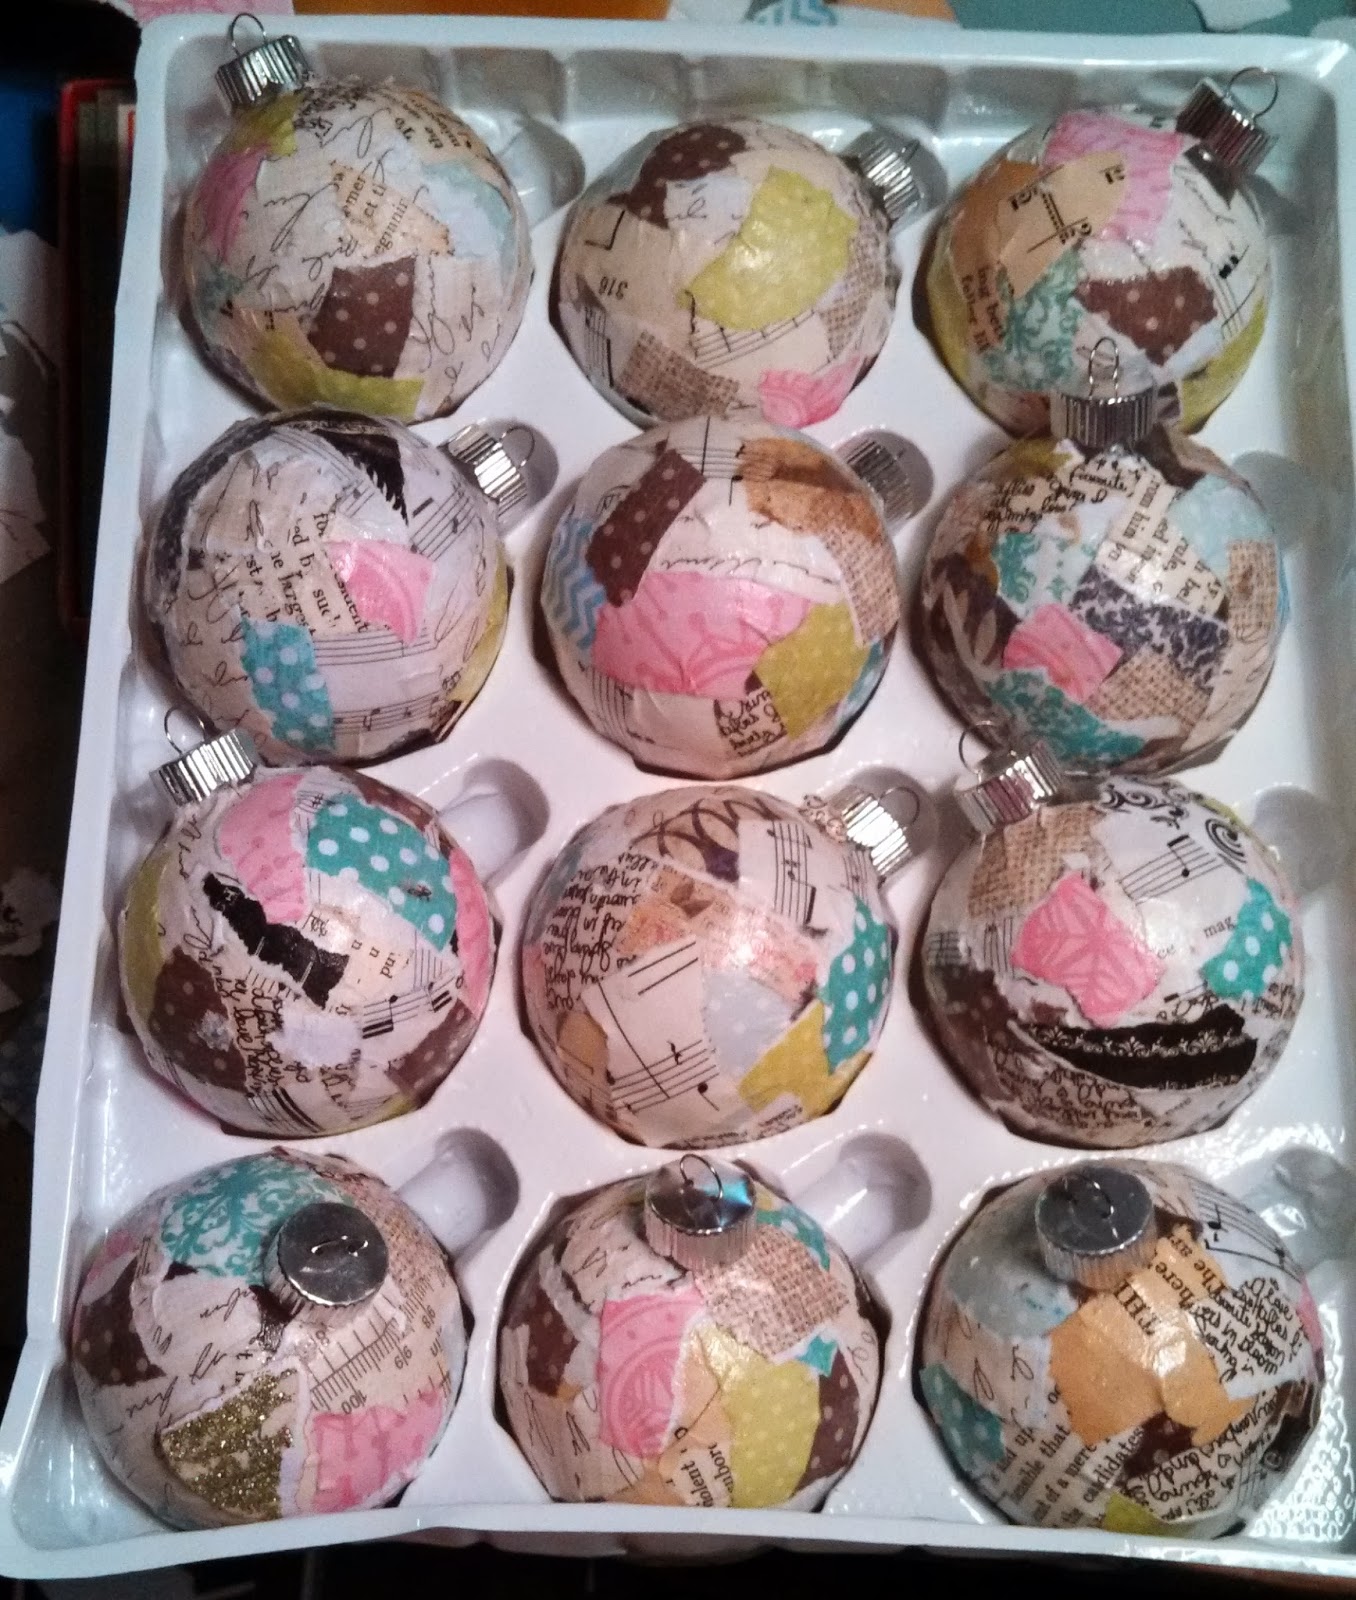
Here they are- it took me approximately One and a Half Episodes of Psych to finish these.  

As I said- I dried them upside down balanced on their tops.

I added back their Metal Tops and discovered that the tops actually pulled off Much too easily.  So I put a spot of Hot Glue around the Neck of the Ornament and then another dot on top at the bottom of the wire where it inserts.  This made it Much More Sturdy and ready to add Ribbony-Goodness later on.

 I stored them back in their little Box while I attempted to scrape enough Mod Podge off my Right hand in order to Partake of Popcorn.


I decided to make one of the Bigger ones.  In Hindsight I wish I had just done them all, but I was pretty 'Collaged Out' at that point.
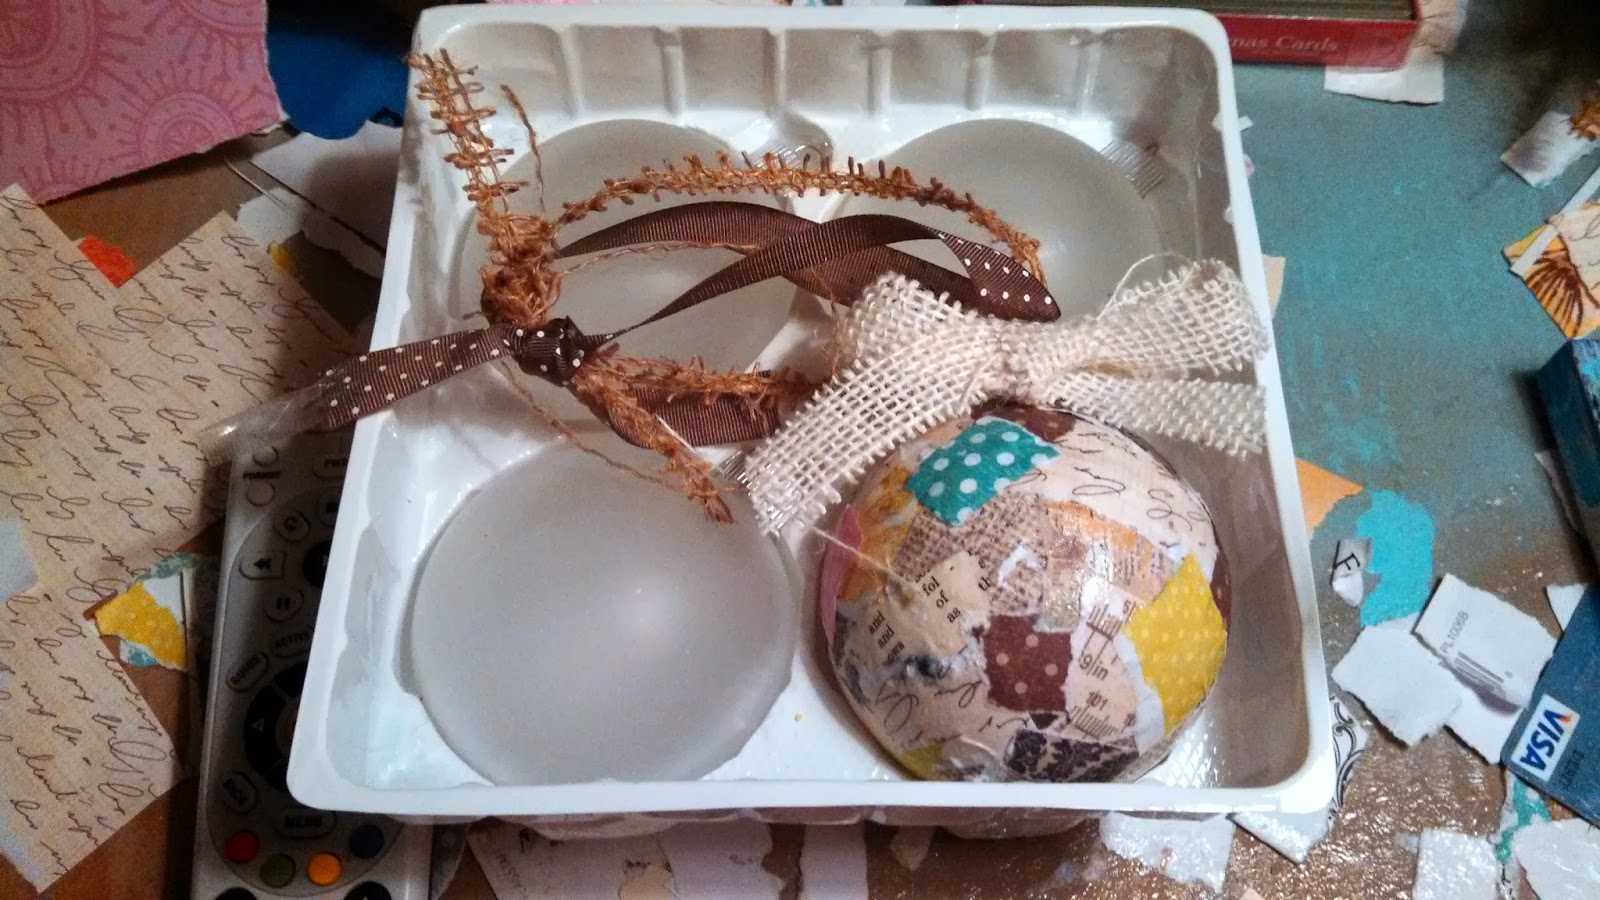

Next I decided they needed a little Focal Point...so I added the Word Peace to each of them...
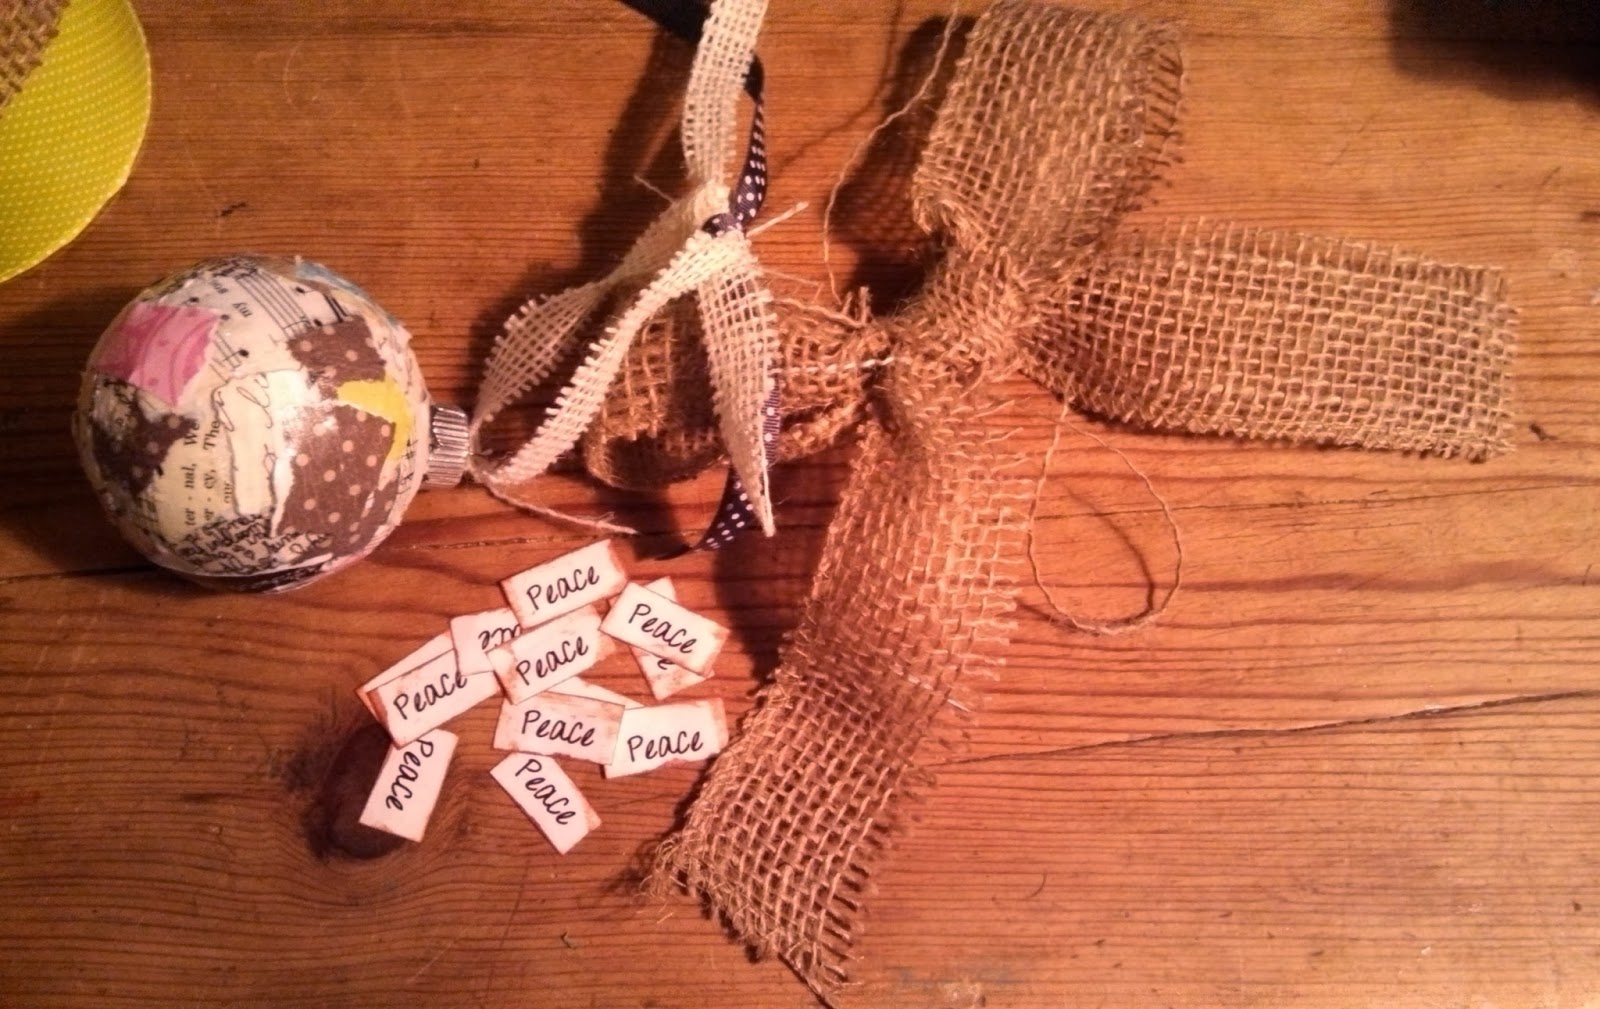

I just printed out the Word "Peace" a bunch of times and then Used a Brown Ink Pad around the edges.  I just Mod Podged them on each one.

I  decided to Continue the Burlap Obsession by Cutting 1/2 inch by 12 inch strips of white Burlap to use as the "Hanging Ribbon"
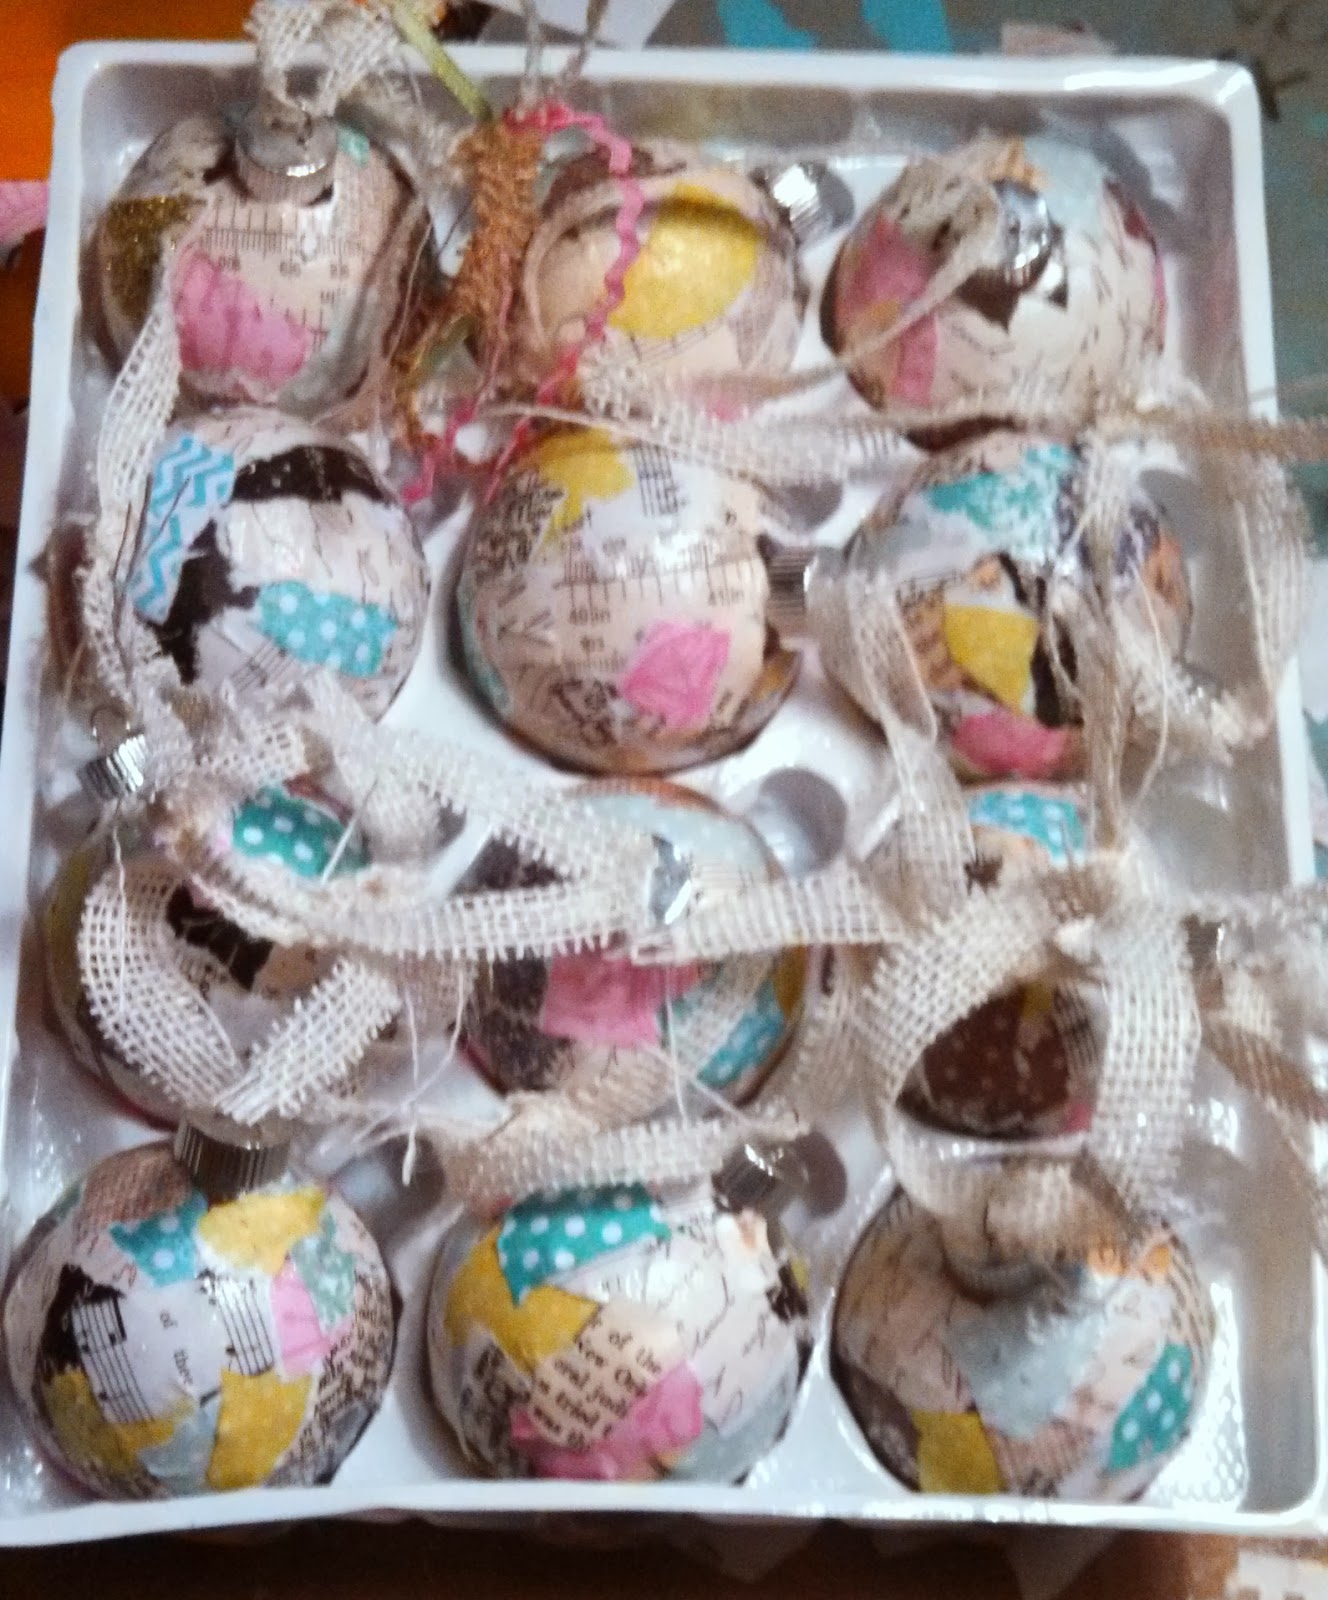

I also Cut some Brown Burlap Ribbon in 1/2 inch by about 8 Inch strips and made little Bows which I Hot Glued on at the Base of the Metal Tops.


I dug through my Ribbon Supply which has Grown Pretty Considerable thanks to Donations from My Sis-in-Law Laura:)  I just tied some at the very top of the Hanging Loops...just a simple knot.  I used Lots of Different colors so they were all different.

So here they are Altogether:)
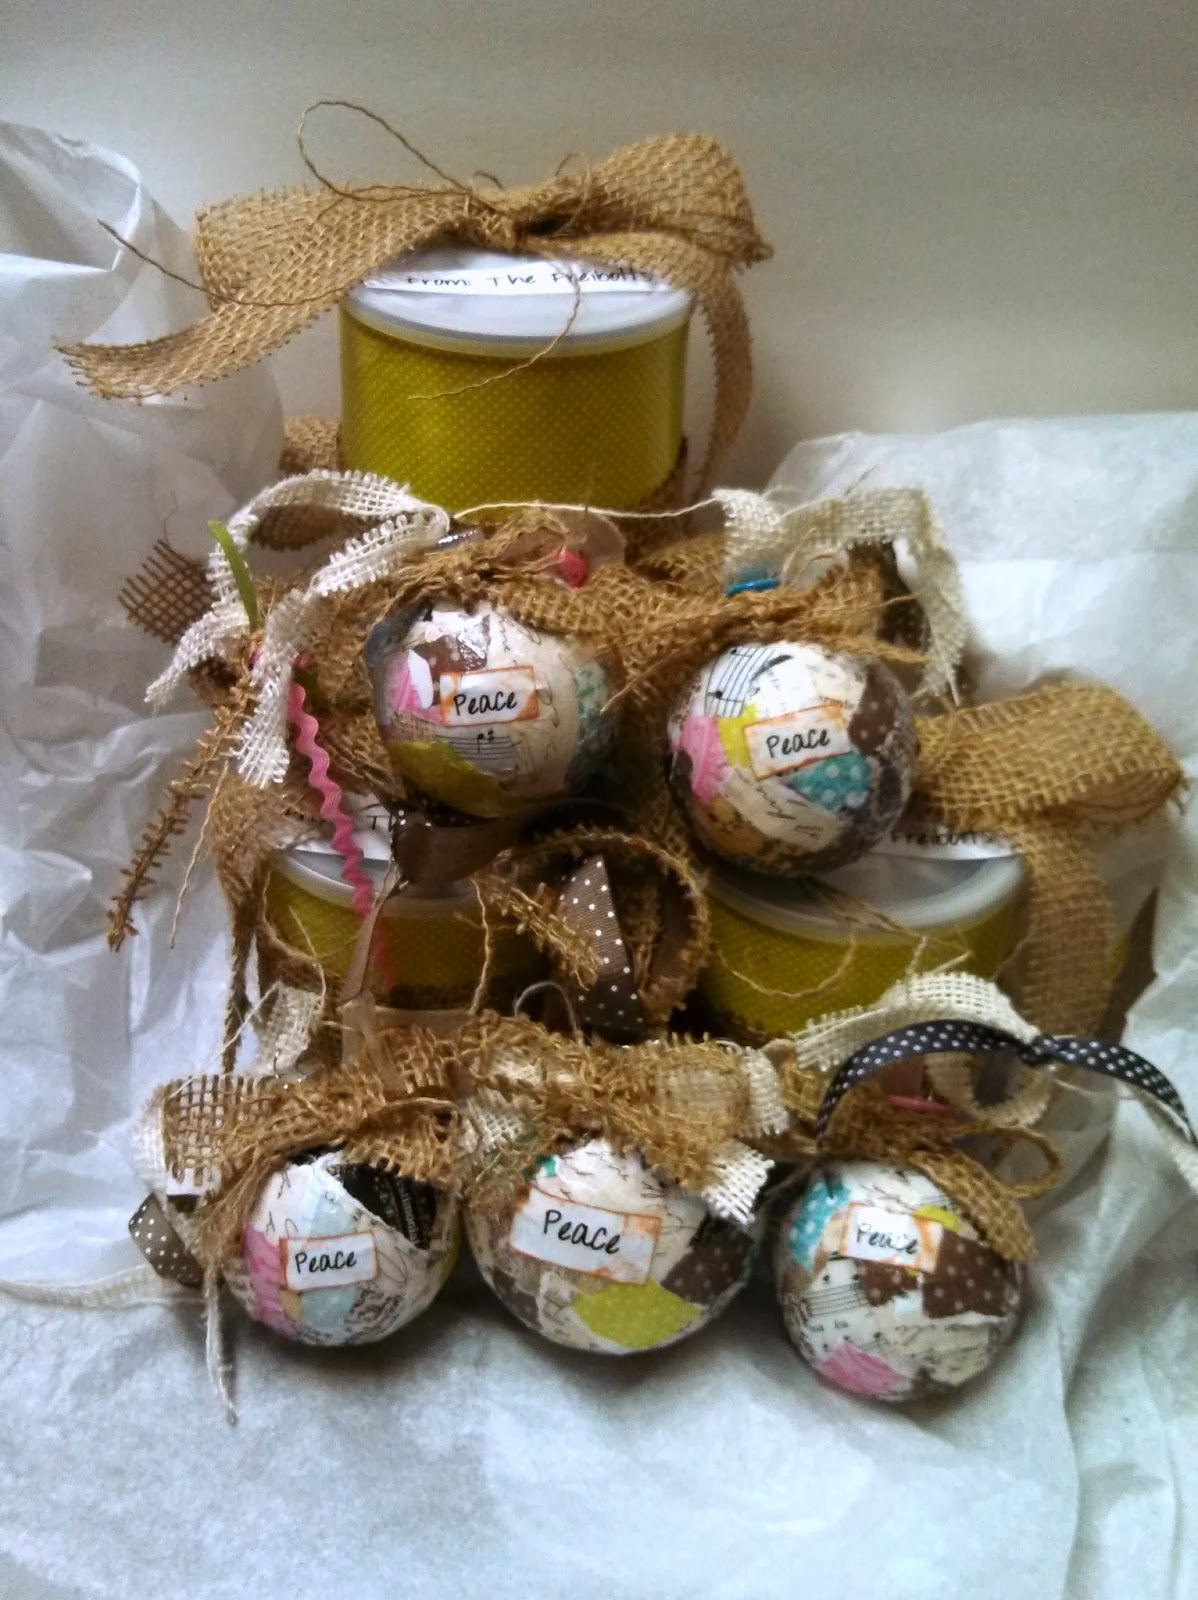

So if I was going to put a Cost on them....here's what I would say...
Ornaments- 12 Small    $1.00
Ornaments-  4 Big       $1.00
Mod Podge-  1/4 Jar- 40% off 6.99...around $1.50
Burlap strips                Less than $1.00
Paper Scraps               Already Had 'em
Ribbons                       Whatever I had on hand- Nothing:)

So for 16 Ornaments...about $4.00 ish.....Whoohooo!

And if you Take advantage of  the After Christmas Sales you can Score some Serious Deals!
I had a Lot of Messy fun making them and they were Great to hand out to Neighbors, Clients, Church Friends and Family:)

What are you making this Christmas?  I would love to hear about what You are 'Craftin' up' this Year!

Remember, Keep it Simple and Keep it Fun!

Love and Blessings to you All!


Saturday, December 21, 2013

Christmas Fab on a Budget- Our Sweet Little Tree

  Our Sweet Little Tree


I'm Back!  Good Grief did I ever Over Estimate what I would be able to get done this Season!  I am chalking it up to End of Chemo, My Mom's Surgery and a Crazy Flu Like Something that just wouldn't let go of me...

Fortunately we are all back in the Swing of things!  Nick, my 17 year old, is Cancer Free, My Mom's surgery went More Wonderfully than we could have imagined and after 4 weeks of Yucky Flu Like symptoms, I am finally feeling better:)


So- How the heck are you doing on the Holidays?  I am Fluctuating between a Glowing Happiness that I got to do some Home Made goodies this year and "I am so stressed out that next year we are going on a trip to Guam for all of December.  What about you?

I finally got all of my Home Made Goodies in the mail, did a few Christmas Cards and got a Couple Dozen Cookies passed out.  So I am Loving being back to the 'Home Made' Tradition that I love- even if it's only 'Half way':)

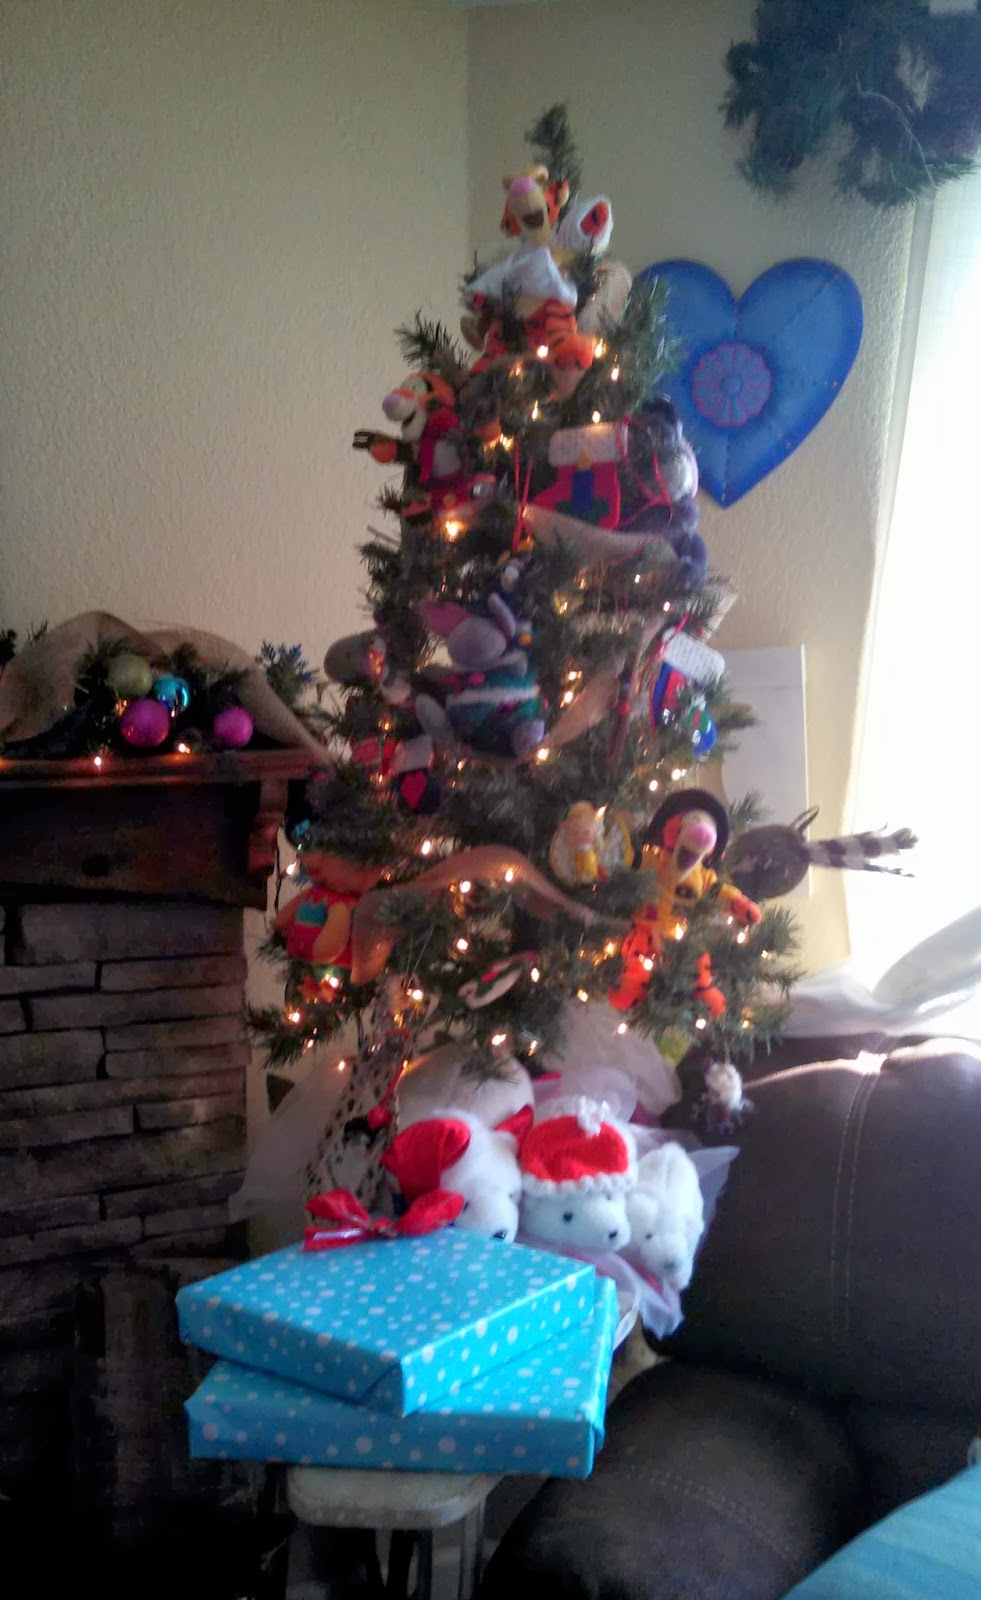
Here is a little glimpse at our Tree this year.  As we have been all over the place the past  years, we have Simplified our Tree to just the Basics that we love.  The smaller size lets us move it to the Hospital, or the Apartment or a Room at Mc Donald's House.


This year- I added my New Addiction.....Burlap Ribbon.  I stole this tip from my Interior Designer Friends and I think it really 'Classed up and Filled out' our little Baby Tree:)


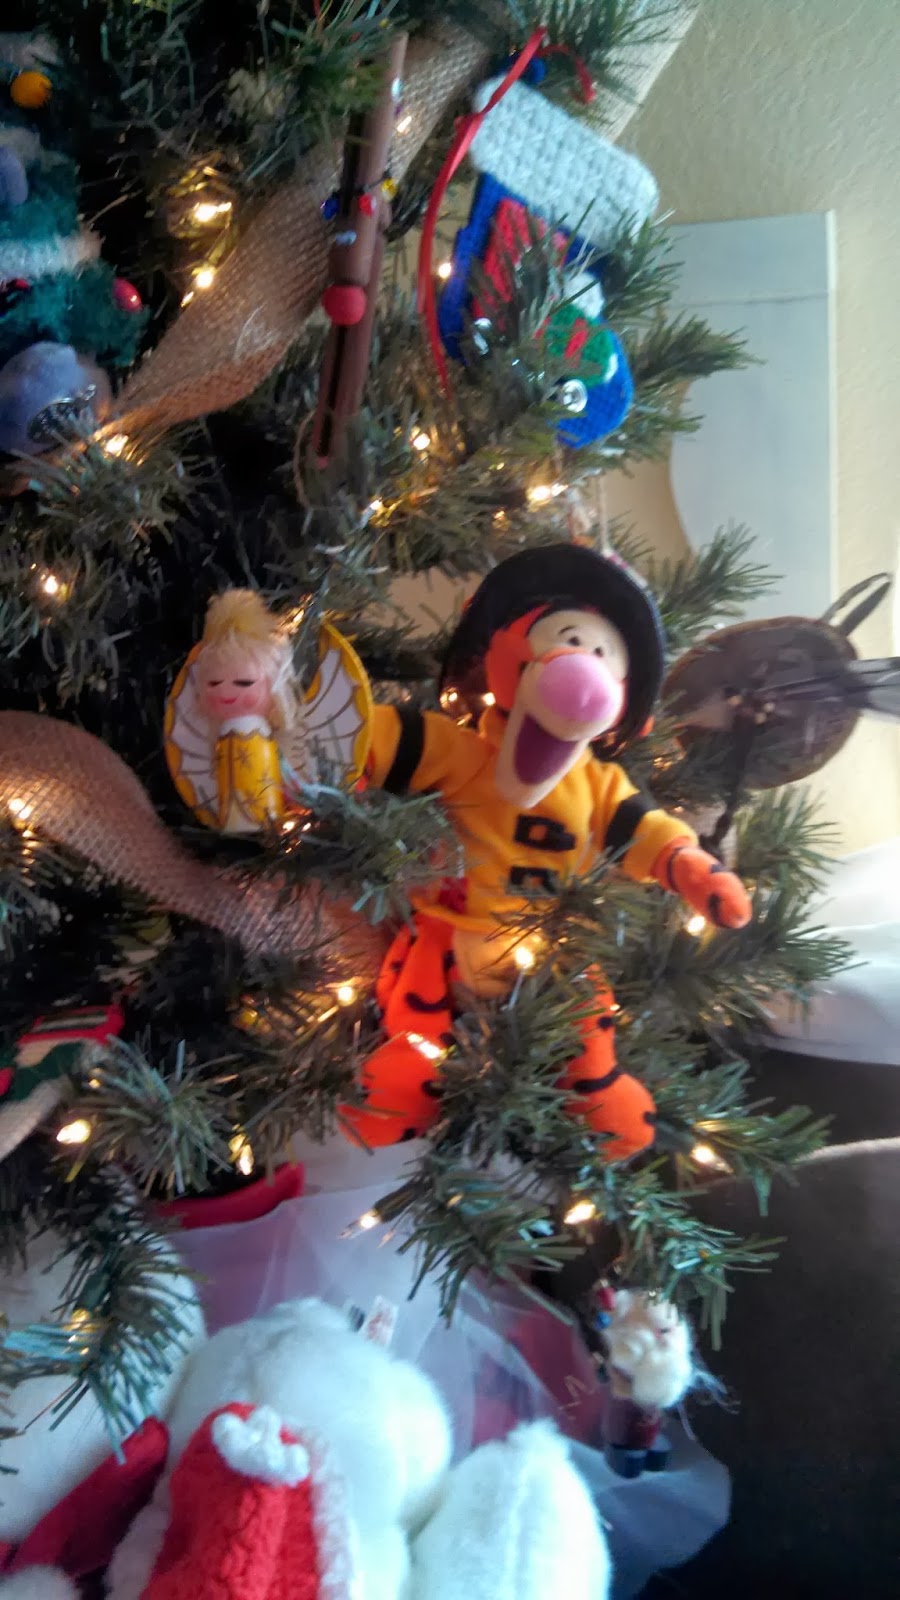
 I used my Collection of Disney Ornament Stuffies and my Favorite Ornaments from my Sis in law.  We added a few of Each Family Members Faves and that was it!  Simple, but Meaningful:)


Wooops- the Photo Bombing Elf strikes again!


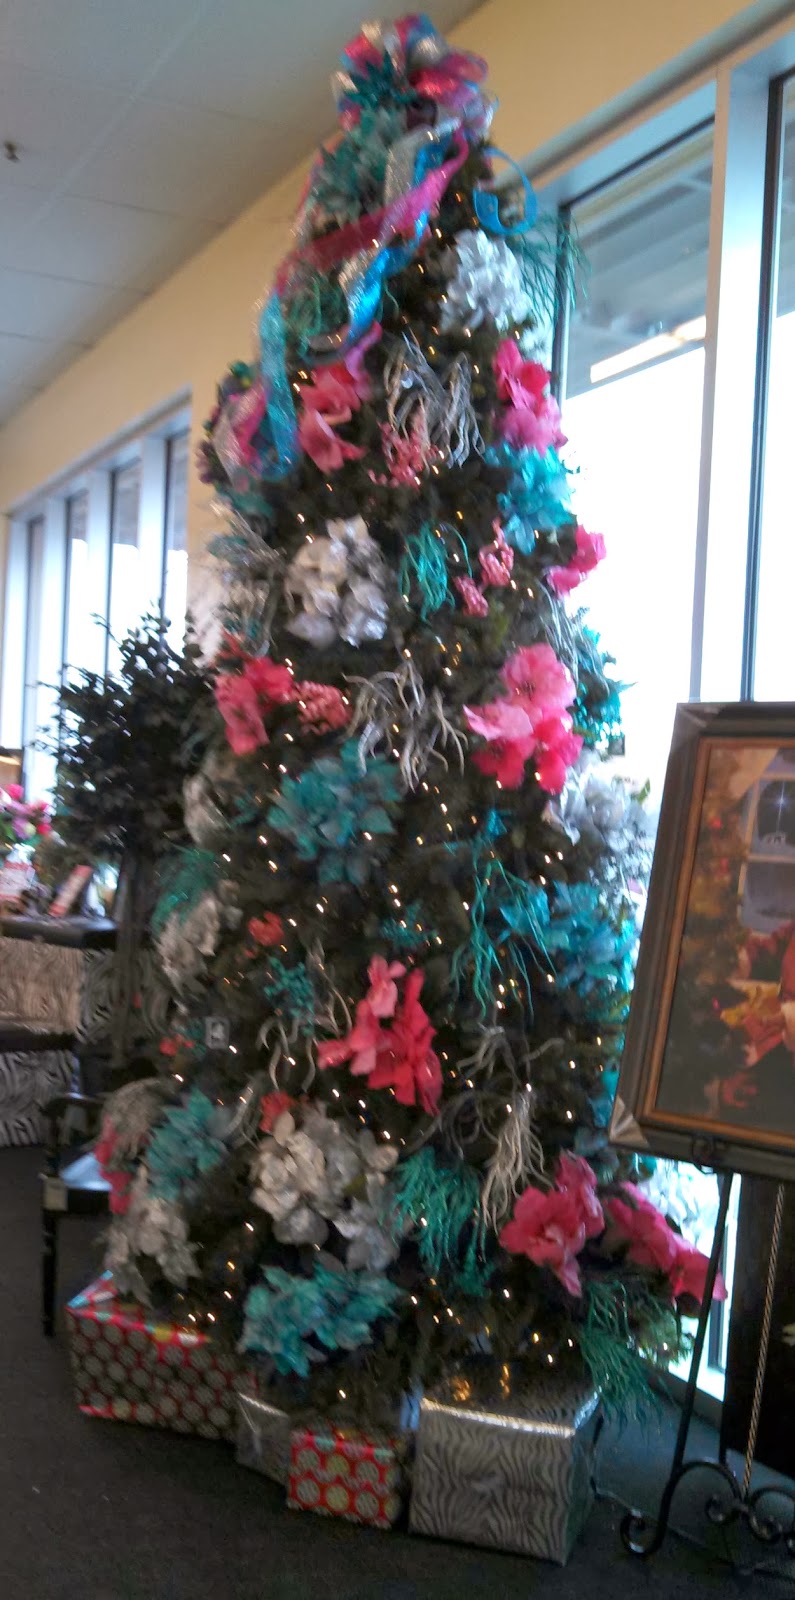
I think Next year we might go for a Full Sized Tree.  I told all my Boys that this was their next tree...  Hobby Lobby's Extra Girlie, Sparkly, Fabulous Inspirational One:)


They were less than thrilled...

WELL!!  It is actually Snowing right now at this very minute!   So I am going to go grab my Hot Chocolate, my Kindle and Enjoy a Few minutes of Snowy Blessings:)

Love to all!


Thursday, December 12, 2013

Christmas Fab on a Budget- Rocking the Mantle

Christmas Fab on a Budget- Rocking the Mantle!


Welcome Back!  If you missed my Previous Postings you can Jump over right Here:)

Ok- Today I need to confess my recent Crush....it's Burlap.  I'm pretty obsessed.  I have it in Dark Brown, Light Brown, white, off-white, ecru.....well...you get the picture.

What do you think happened to me when I was trying to survive Walmart on a Saturday in December???  There I was trying to avoid the Creepy Direct TV guy when I caught it out of the corner of my eye...

Burlap Ribbon!!!

  I know, I know you've seen it before...but not for $3.49 for 20 feet!!!  I KNOW right?  It was the Holy Grail of Burlap!!!

I swam through the General Populace and Grabbed one before the Current pushed me onward...

So- that leads me to Today's project.  It was one of the first ones I put up.

The Mantle Piece:)


For two years in a row I have the Great Honor of Decorating our Church for Christmas!  Now- before you get the wrong idea- I showed up to not One- not Two- but Three Professional Interior Designers...all of whom had volunteered their Busy Beautiful Selves to make the Room Amazing.  I was the Grunt of the bunch:)

They literally spent HOURS making two Wreaths.  They were Amazing!  They looked, well,  professional:)  My job was to run around with tape, wire and cutters and just Soak it all in.

I am aiming at Far More Casual than Professional:), but
one of the things I watched them do is take a perfectly ordinary garland and make it look really Full and Fabulous.


 Here is what it started like- It was a pretty nice one that I am pretty sure I stole from My Sis-in-law's wedding...


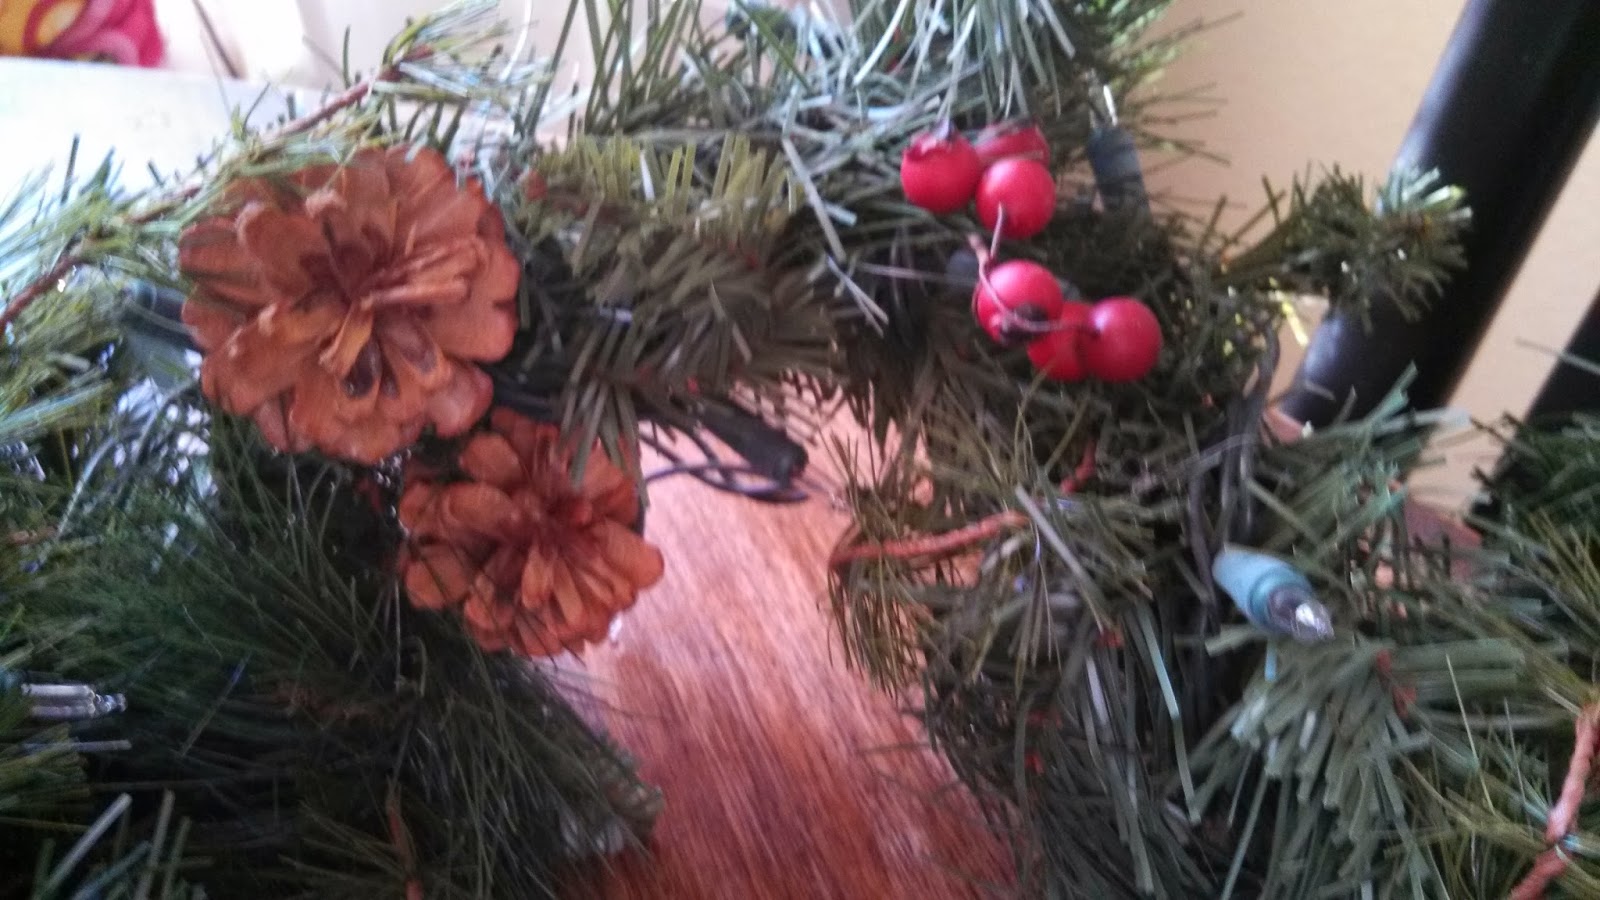
Here's a Close up- it had some cool Pine cones and Berries on it.  I think this is the nicest one I have so I put it in the Most 'Looked at' Place.


So I can pretty much sum up all of the Awesome Tips I learned....
"Fill that Sucker up!!!"

Here are my Top 3 Tips:

1)  Wire more than one Ornament together!  It seems like a simple thing- but making sets of Three makes it look FAB-u-lous!

2) Weave a Big thick Ribbon through the whole thing.  

And this is where I broke out.....my Burlap!!!


I just literally twisted it around in there.  It was a really wide ribbon so it filled in all the gaps and made it look really Expensive if I do say so myself!

At first I wasn't too sure I liked the 'Country Vibe' and the 'Modern Vibe' together...but it grew on me.  And it kind of tells our story.  We are City Folk turned Country Folk.

3)  Use Pointsettias, Pine Cones and Other Natural Stuff or Sparkly stuff...

They now make Poinsettia's in Every Conceivable color.  But they were a little too Pricey for me at this point.  I just tried to use a different style of Ornament here and there.

Maybe next year we will spring for some Turquoise Sparkle Poinstettias....they grow around here you know..

4) Use what you Have!!!

These girls scour the Thrift Shops, Antique Shops and Consignment Stores weekly so they have a lot of Cool stuff at their disposal.  They use things over and over again and are always Repurpousing.

So,  I used my 45 Cent Glittery finds to make this Tower that is always there a little more Festive.


It felt so much more Luxurious and full!  And it was so much Fun!  My house used to be very French Country- mostly Red's and Yellows and Toille-ey Goodness.  But as I usually paint my house at least every other year- and since we were going through quite a bit of stress- I opted for fun and fabulousness:) We have all kinds of Bright Colors and fun, quirky things.

So our Christmas had to be just as Quirky:)


Tomorrow we are on to the Tree:)  And YES- Burlap IS involved!!!

Love to all!

Photo Bombing Elf...


Tuesday, December 10, 2013

Christmas Fabulousness on a Budget- Table Centerpiece


Hey Everyone!!!

Welcome to my "Christmas Fabulous on a Budget" Series where Sparkly on a Shoe string is not just a clever alliteration:)

So, yesterday I shared that I Totally SCORED at the Thrift Shop!!! 

Here is just Part of my Stash...the stuff I Haven't used yet...

Look at all that Sweet Tasty Second Hand Love Baby!!!


Ya!

So...here's today's Project. I wanted a Table Decoration that was cool- Zazzy and Not to Tall that we couldn't talk over them. 

Warning!!!  I do Not do 'Arrangements' at all!  My idea of 'Arranged' is throwing a bunch of Pine Cones in a bowl....ok, I guess that's pretty much what I did here....hmmm....


Ok- so the Very first think I saw was this Awesome glittertastic Bowl.  Ya- it was a Buck:)  That's how I roll....

Then- I scored these brand new White Linen Napkins for Fifty Cents Each.  Since I had a Dark Table I wanted a contrast and I didn't want to Mess with a whole Table Cloth.

Add the Pre-requisite Pine Cones (Free)....Some Banged up, Backwards, Pink Ornaments that Fell off Tomorrow's Project and Voila!


Ok- so all the Froofy-Fabu Sparkle Fun there on the top came later...  I wanted to try to keep it under $5.00.

So...Here's the Tab so far:

Beady Bowl                                  $1.00
Pine Cones                                    Free
White Gauzy Stuff                         Stole from a Wedding
Wonky Pink Ornaments                Fell off an old wreath- free
White Napkins                              50 cents
Green Circle                                  Had it for a while:)
Silver Balls- 10pk Dollar Store      50 Cents

$2.00  Total!!!

And so...I Splurged and got 3 Sparkly, Indulgent Add ons. 


 Fortunately the Glitter-gods were smiling and I hit Another Half Off Sale, this time at Hobby Lobby
So..

Sparkly Blue and Green Ribbon Thingee                $ 2.99
Green Ball Bendy                                                    $ 1.49
Blue Bendy Ball                                                      $ 1.49

An Outrageous $6.00....
But half-off brought me to $3.00
for a Fabulous
$5.00


 Here it is in all it's Glory:) 

And Yes...that IS an Enormous Coffee Filter Lampshade there.

I'm thinking next year we might go Bigger....

Thanks so much for Playing along with me:)

Love to all!

Monday, December 9, 2013

Christmas Fab on a Budget- Our First Door Wreath

A Wreath for the Front Door!


Hey Everyone- It's December 8th....do you know where the Floor of your Craft Room went?   Me neither....

So as you know- we are Home for Christmas and Feelin' like Decking the House out:)  As we have been 'Extreme Minimalists' in the past, we are Very Low on Christmas Decorations.

I haven't been able to be Crafty at the Holidays for so long that I am Really excited to actually Make Things again:) 


In my Fantasy Christmas- I am singing Christmas Carols in a Handmade Frilly Apron...Making 120 dozen Cookies and packing them in Hand Made Adorable Receptacles.  All of my Hand Crafted Gifts are wrapped in Handmade Recycled Wrapping paper under a Fresh, Extravagantly decorated Tree...the Fire is lit and I am serving my Husband Fresh Chicken Parmesan which I managed to make from scratch while I baked....

This is what I look like to my Adoring Family....


Ya....you can see my dillema.  If I'm lucky I will be able to Pull off Rice Krispie treats in Paper Bags with Hello Kitty stickers on it while ordering Pizza:)


SO!

 I have given up on 'Perfection Expectations" and am focusing on Fun, Simple steps and giving myself Lots of Credit for Each little Creation. 

Being the Dollar Store Diva that I am,  AND also currently Reigning as the Princess of Thrift Shops- I knew what I had to do....

I made my Usual Rounds at My Favorite Thrift shops but at first I really wasn't finding much...I was on my way home and on a Whim stopped at Hope's Attic...

BEST SCORE EVER!!!

Everything in the Store was half off!!  Half Off!!!

First of all I scored a Bunch of awesome Brand new Thermal Tops.....for a Buck!  We've been in Phoenix for the last 5 years so I was Freezing to death!  Then...scored these Boots for $4.00...
OH yeah...

 
And then...I turned the Corner and BAM- Christmas stuff - Fresh off the Truck!  I had first Pick!!!

So all the things that you will see over the next few days are from this  One Haul- I'll be breaking down the prices for you so you can see what it all cost.

Here is My First Project!!!


I have always been pretty nervous about making Wreaths- so the Only time we've had one is when my Mom-in-Law sent me a Fresh one many years ago.

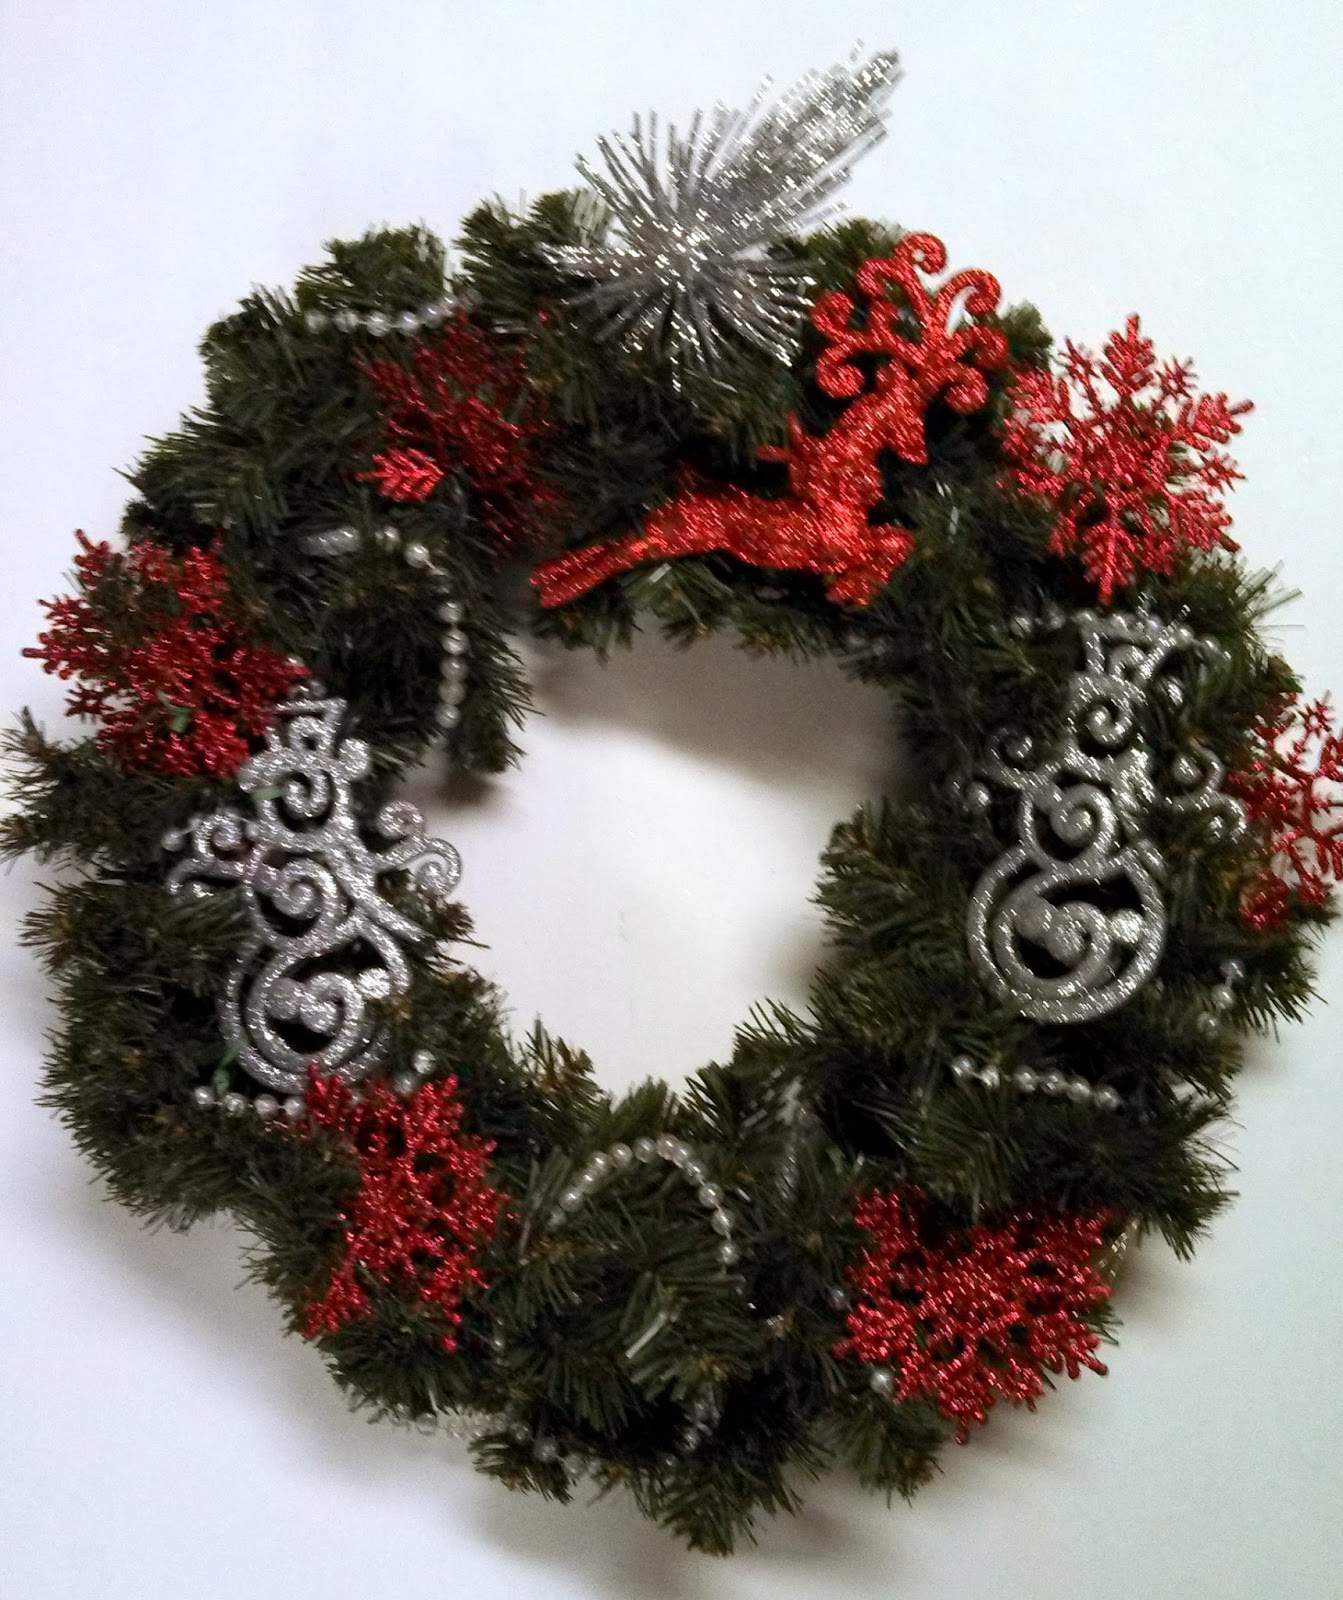
So when I scooped up a Naked 14 inch wreath for a Buck- I thought  What If???  What If this year we had....dare I say it....a Wreath On the Front Door!!!! I even scored two Door Hangers for a Buck a piece!

Ok- I know it's not Fancy- but it does have to survive Outside, a mile back on a Dirt Road, in Rain and snow and Javalinas....So it had to be Sturdy and relatively Weather Proof.

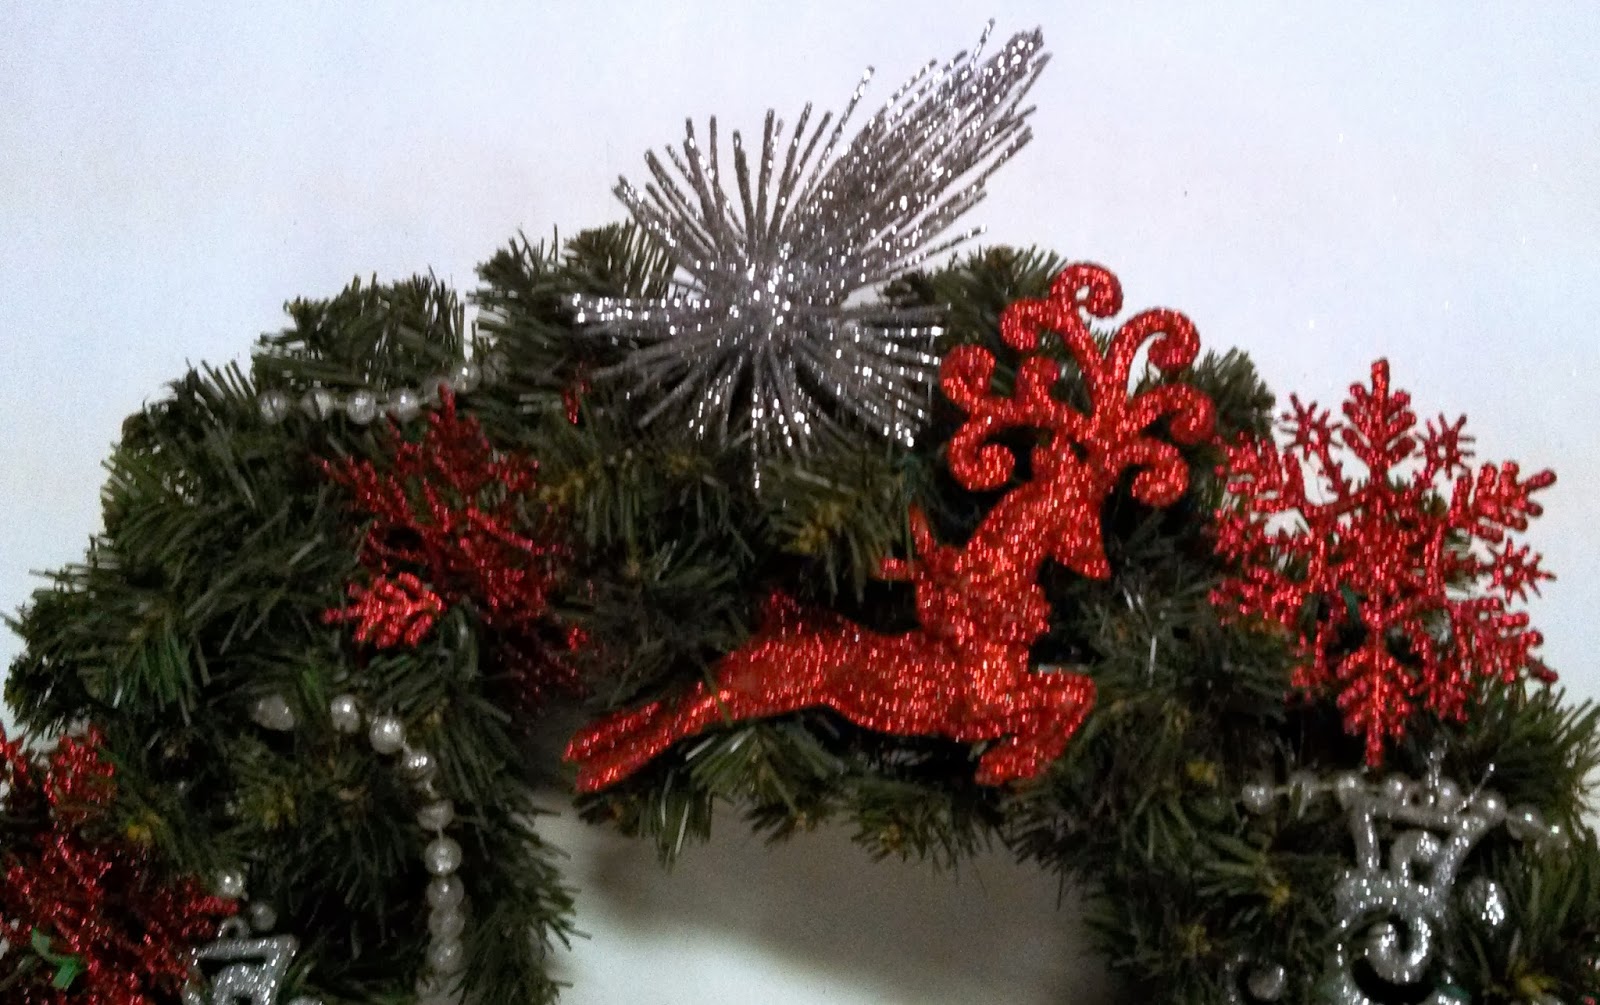
Ok- so I scored these Glitter-Tastic Ornaments for 45 cents a piece.. I used two Silver Snowmen and a Sparkly-red Raindeer....


I had the Silvery Spikey thing already from Years ago- so I stuck that on.  The Pearls were left overs from My Sis-in-Laws Christmas Wedding several years ago:)  The Red Snowflakes were 12 for a buck and I got some Decorator's Wire at the same Thrift shop for a buck.

Here's our Totals:
Hanger- $1.00
Wreath- $1.00
Glitter Ornaments- $1.35
Snowflakes- about $.40
Stuff I had already- Zero

So all told- this Wreath with the hanger was under $4.00!!!


Woohoo!


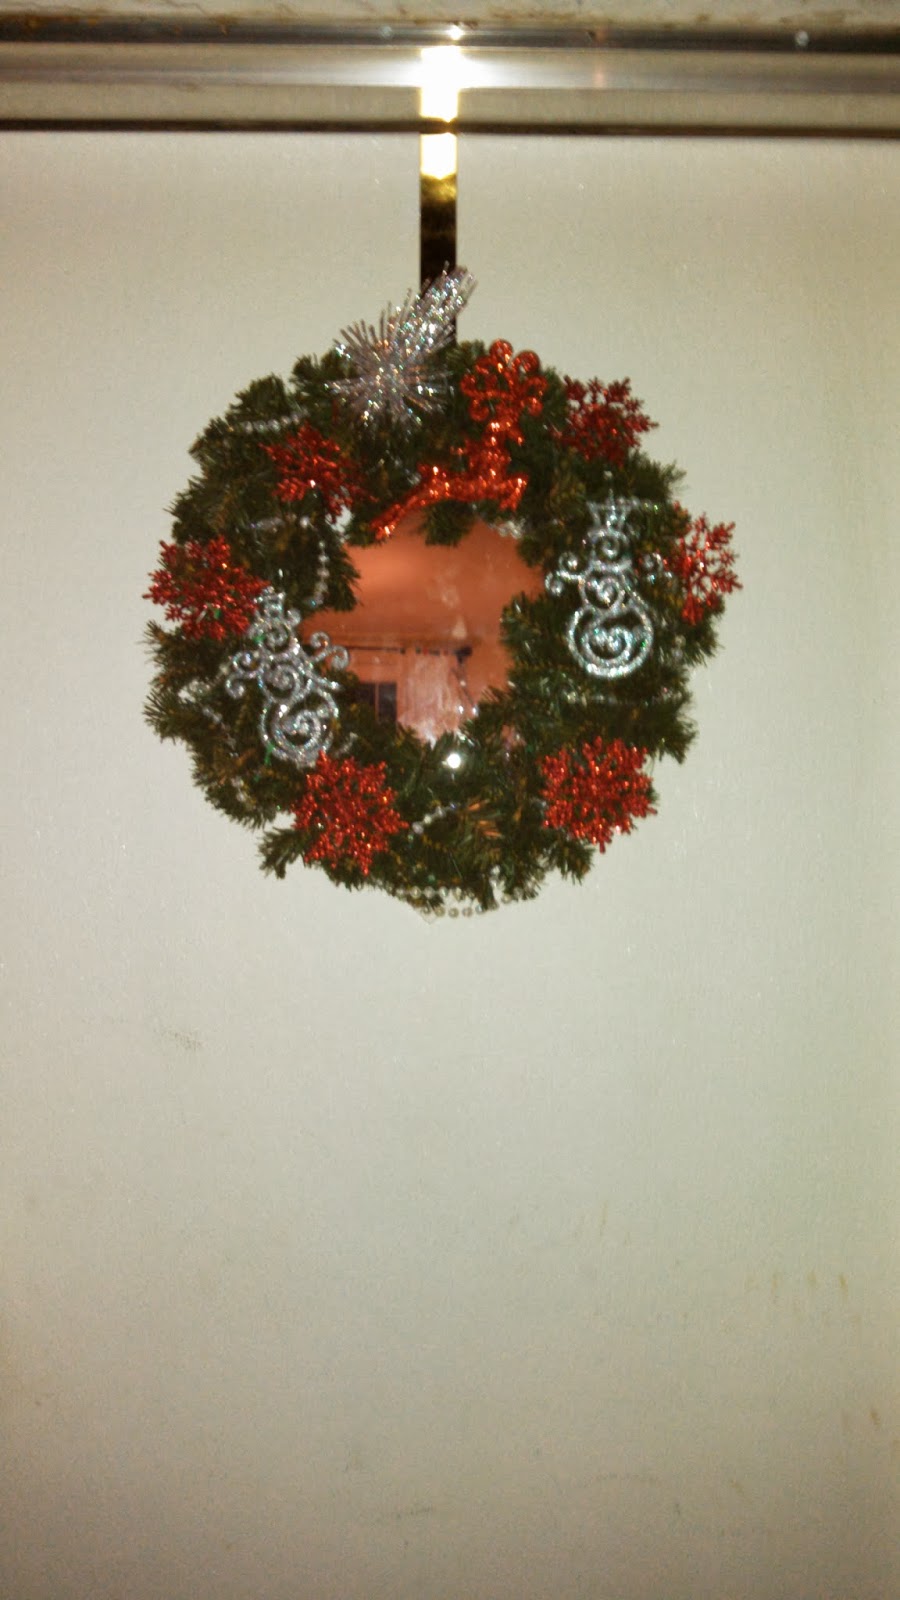
Here it is on the Door!


I wired everything in there real well so I am hoping it will stand up to Teenagers and the Occasional Big Foot.  I'm so excited for my one neighbor to drive by every day!!!

So here's to a great start!

What are you working on?  Are you remembering to keep it simple and being very, very kind to yourself?

Hope so!

Love to all!

Sunday, December 8, 2013

Christmas Fabulousness on a Budget

Fabulous on A Budget


Welcome to my New Series- Christmas Fabulousness on a Budget!  Join me as we Revel in the Joy of Thrift Shop Find Makeovers and make the best of those Dollar Store Ornaments!  I LOVE the Thrill of the Hunt!

First of all- a Few Ground Rules:)

1) No Perfectionism Allowed:)
2) Everyone's Style is Different- and that is OK!  If it makes you Happy- it's Wonderful:)
3)  Use what you Have
4)  Only keep what you LOVE
5)  Less is More

Christmas Decorations done Imperfectly Still bless your Family!!!  Unless you are a Professional Designer- Perfection is just not a Need or an Option.  Just get in there and use what you Love:)

I have Purposely not gone on Pinterest or looked at other people's Decorations because I feel like I'm in a bit of a "Fragile State" and would Easily get Overwhelmed, take on too much or just Stress in General.  Thus the 5 Rules!


After lots of years of Enjoying Ronald Mc Donald House and Phoenix Children's Hospitals Awesome Decorations- we finally have time to Decorate our Very Own House!  We have Stripped things down to Just the things we Love and the Bare Minimum.  But now that we are done with Chemo- we are looking to Deck the Halls once again:) 

Just like you- we are workin' on a Budget here...so I am hoping that you will take a deep breath, stop Worrying whether your Creation is "Pinterest Worthy" and just make something that Blesses your family by Creating that a little bit of that Christmas Feeling:)

And Watch out for Photo Bombing Elves!!


Love to All!!!


Thursday, December 5, 2013

Socks and Sandals, Frozen Yogurt ...and Big Foot

What the Heck have I Been Up To?
 
Hey all!  I was Totally Planning on keeping up with my Blogging through the Thanksgiving Holiday....ya that worked out!:)
 
 
We have been 'A-Visitin' and 'A-Hospitalin' these last 2 weeks:)
 
Here's me and my Adorable Momma:)  Sorry about the pic quality- I'm sittin' here in the Hospital Room with her.
 
 
She just had Back Surgery for Spinal Stenosis...this is the end of Day 2.  She's been on Morphine for the last 2 days so I expected her to Pass out like Nick does...we can literally count to 35 with Nick and he is OUT! But my Mom was chipper and chatty and we just kept having the Same Conversation over and over again:)  Today she has Graduated to Hydrocodone- so she actually remembered my Name:)
 
She's feeling MUCH better tonight...we have been Giggling so loud watching "America's Home Video's" from the 1980's that people keep peeking in the door to check on us- we know how to have fun in a Hospital man...
 
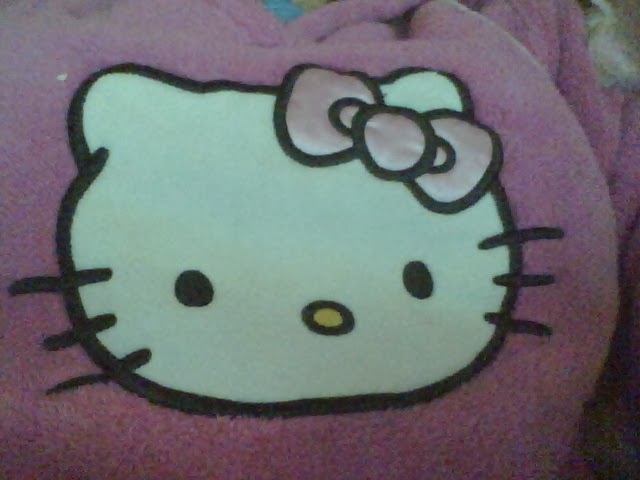
As she is only in for 2 nights I decided to skip the 'Traditional Hospital Wardrobe Protocol for Moms'  and went straight to Paint covered sweats, My Fuzzy Hot Pink Hello Kitty Jammie Shirt and the "Peez day Resistance" ....Hospital Socks and Sandals.  Normally you need to wait until at least day 3 for this kind of Fashion Freedom. 
 
I also realized that I was rocking the Racoon eye Mascara smudge at 1:30 am when they briefly open the Cafeteria...
 
 
I saw my Reflection in the machine as I was trying to shove as Much Frozen Yogurt as possible into a 32 ounce Coffee Cup...Everyone knows that you can shove in as many toppings as you want as long as it's in a Coffee cup and it doesn't count....that's Hospital 101 people...
 
Perhaps I need to back up a bit....so you can see What Kind of events have to Happen to a woman before she is Ready to sport Hospital Socks and clogs...
Cue Flashback....
 
First of all- we travelled and had a great time with Family out in Californ-I-A:)


Here we are Celebrating both Boys Birthdays- Nathan is 19 and Nick just turned 17:)  There's Kale in the Middle:)
 
We got back from several days of Fabulous Food and fun and BAM- Nick needed to have his 6 week Blood Check as he has been off Chemo for Leukemia now for 6 weeks. 
 
Needless to say, there is some Anxiety around this even for us- although we were expecting Great things:)  SO-Nick had his Appointment at 10:15 two hours away in Phoenix....then I brought him home- then drove an Hour the Other Way to Prescott for my Mom who had Surgery that Morning.
 
The Wonderful News is Nicks Blood was all clear- Cancer Free:)- and we dont' have to be in for 8 weeks.  BUT- I turned around after a bit-o-the-not-sleeping-while-worrying-about-counts...and spent the night trying to sleep on a Folding Chair...and Let me tell you- Steve the IV Pole was not friendly- He beeped and wailed and 'occluded' all night long:)
 
Thus the Racoon Eyes, Socks and Sandals....and 32 ounces of Froyo in a coffee cup...
 
SO fast Forward to tonight...and 32 hours of Hospital later...
 
As you know, I am a Huge Big Foot fan.  I am pretty Positive that there is one living in the Golf Shack in the Country Club in Dewey...
 
This is an Actual picture here... the Arizona ones are Purple....
 
Although I am WAY more into "Mountain Monsters"...because they SERIOUSLY almost caught one...I did find that watching "Finding Bigfoot"- late at night- in the dark- when you are hopped up on Morphine (or Way too much Coffee FroYo)  is SO fun!!:)  And my Mom doesn't remember a thing!
 
As I said she is feeling So much better!  She has a perfected the 'Flying Dismount' from her Hospital bed and has made Several laps around the unit- I think they have her scheduled for a 5K tomorrow:)


Ya- this is pretty much the view around here:)  He's only been here a day- so no Socks for another 24 hours...
 
So I will leave you now...as the Cafeteria closes in 17 minutes and there is a Coffee Cup with my name on it...
 
Love to all!