Friday, May 30, 2014

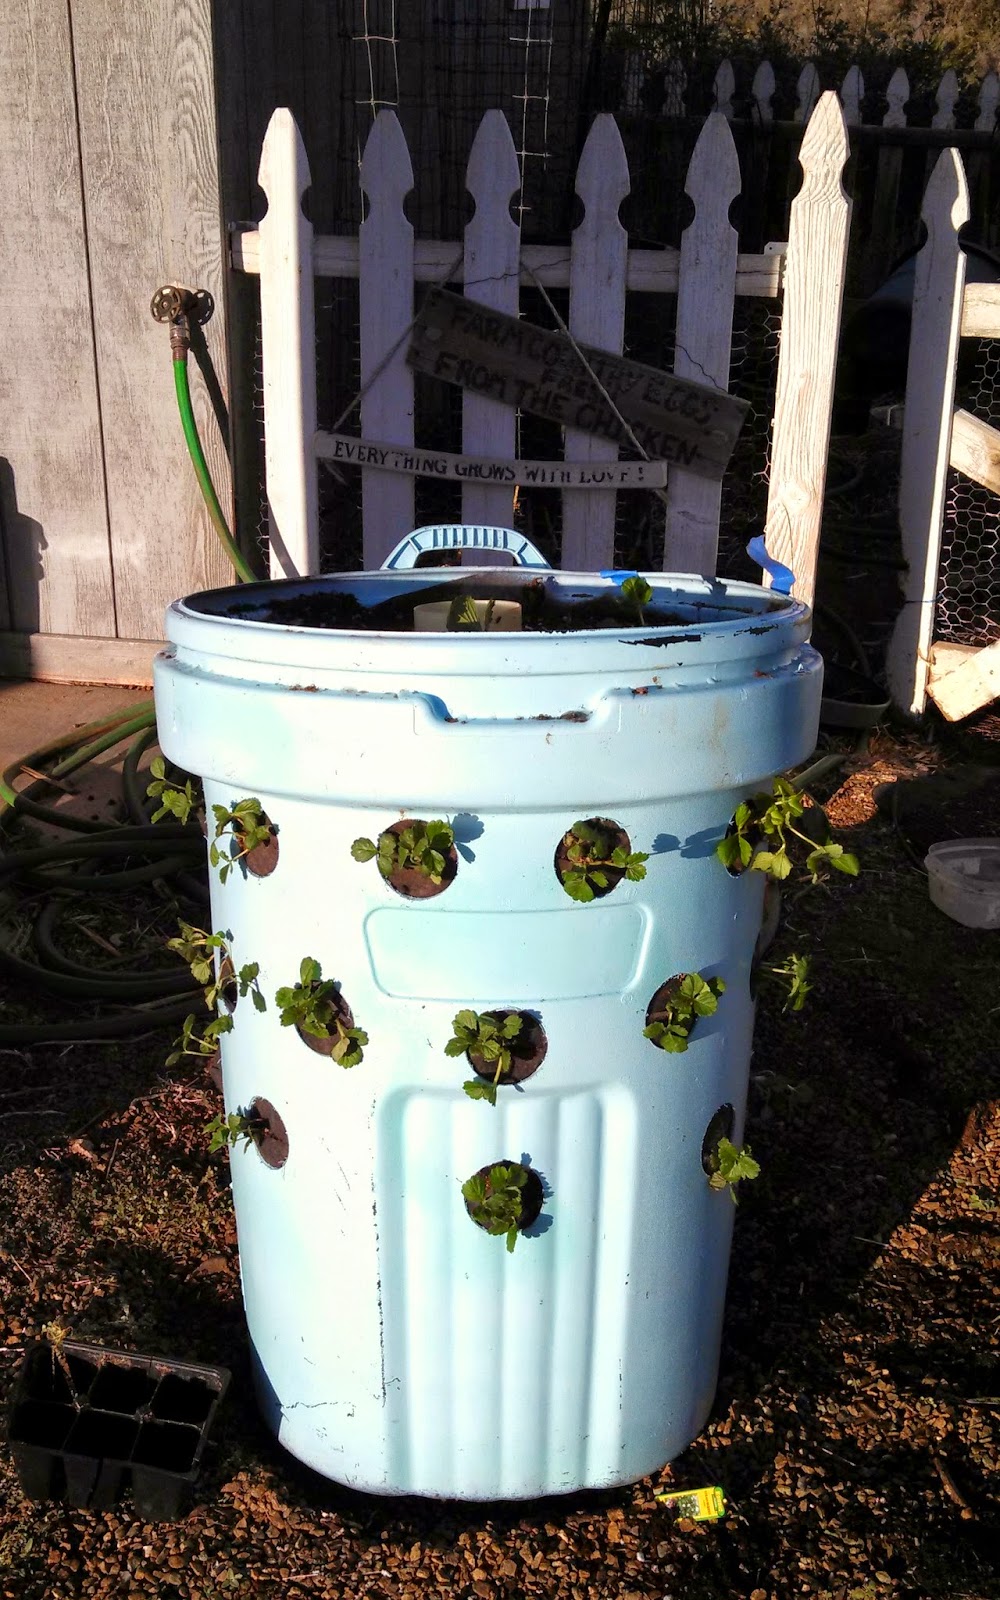
A "Prettified Version" of the Do it Yourself Strawberry Tower

So Here is the Cute one!!!
Total Cost $25.00! 


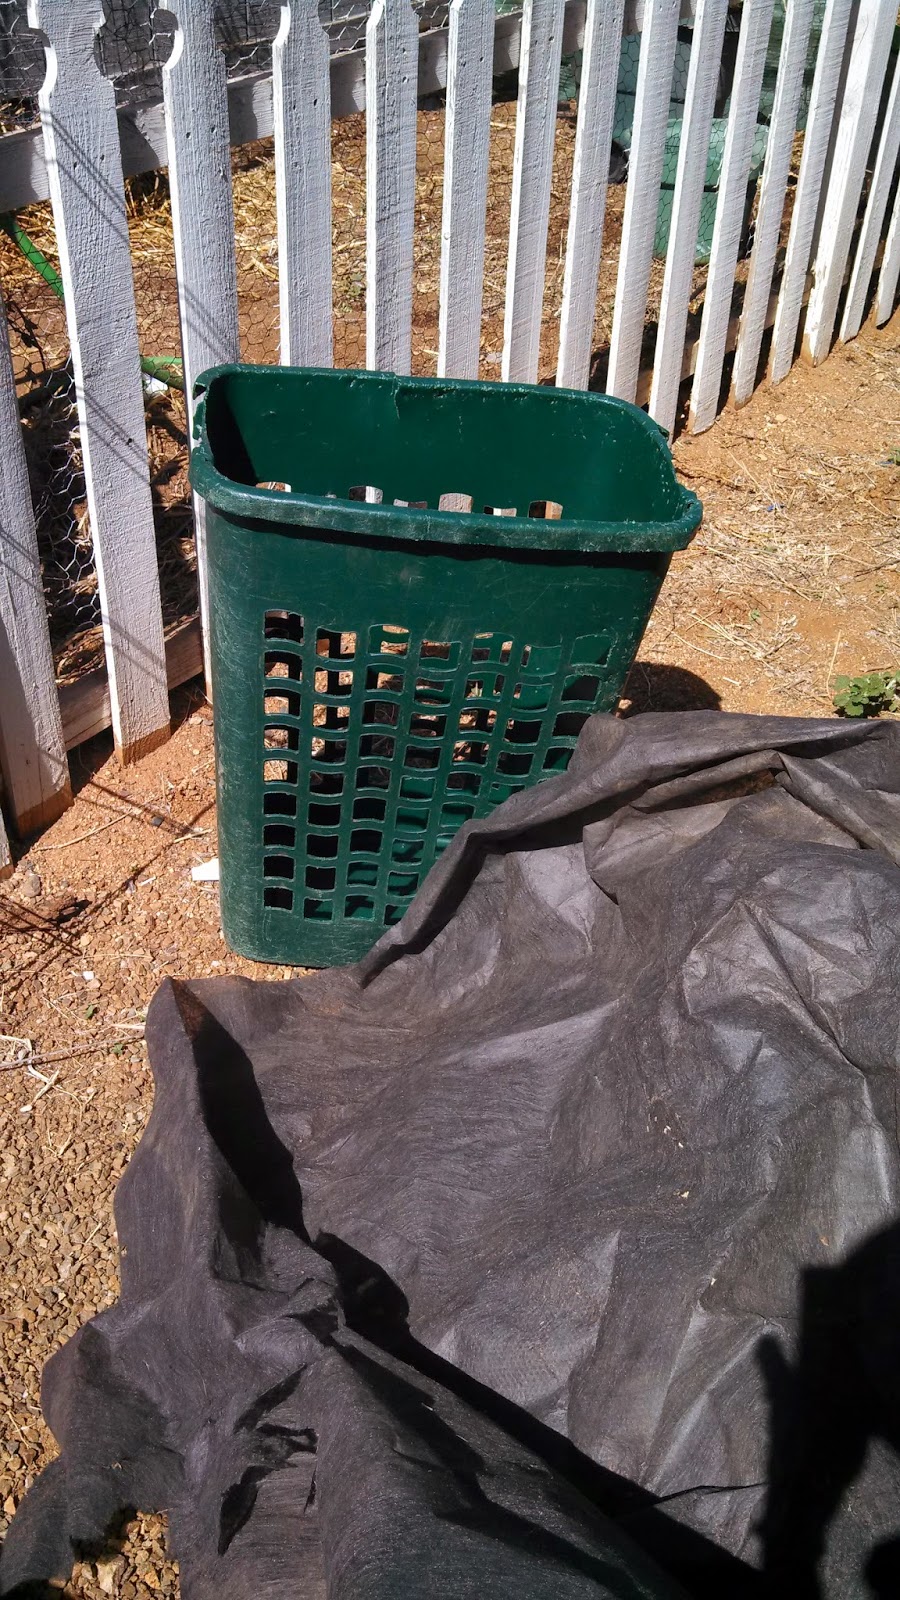
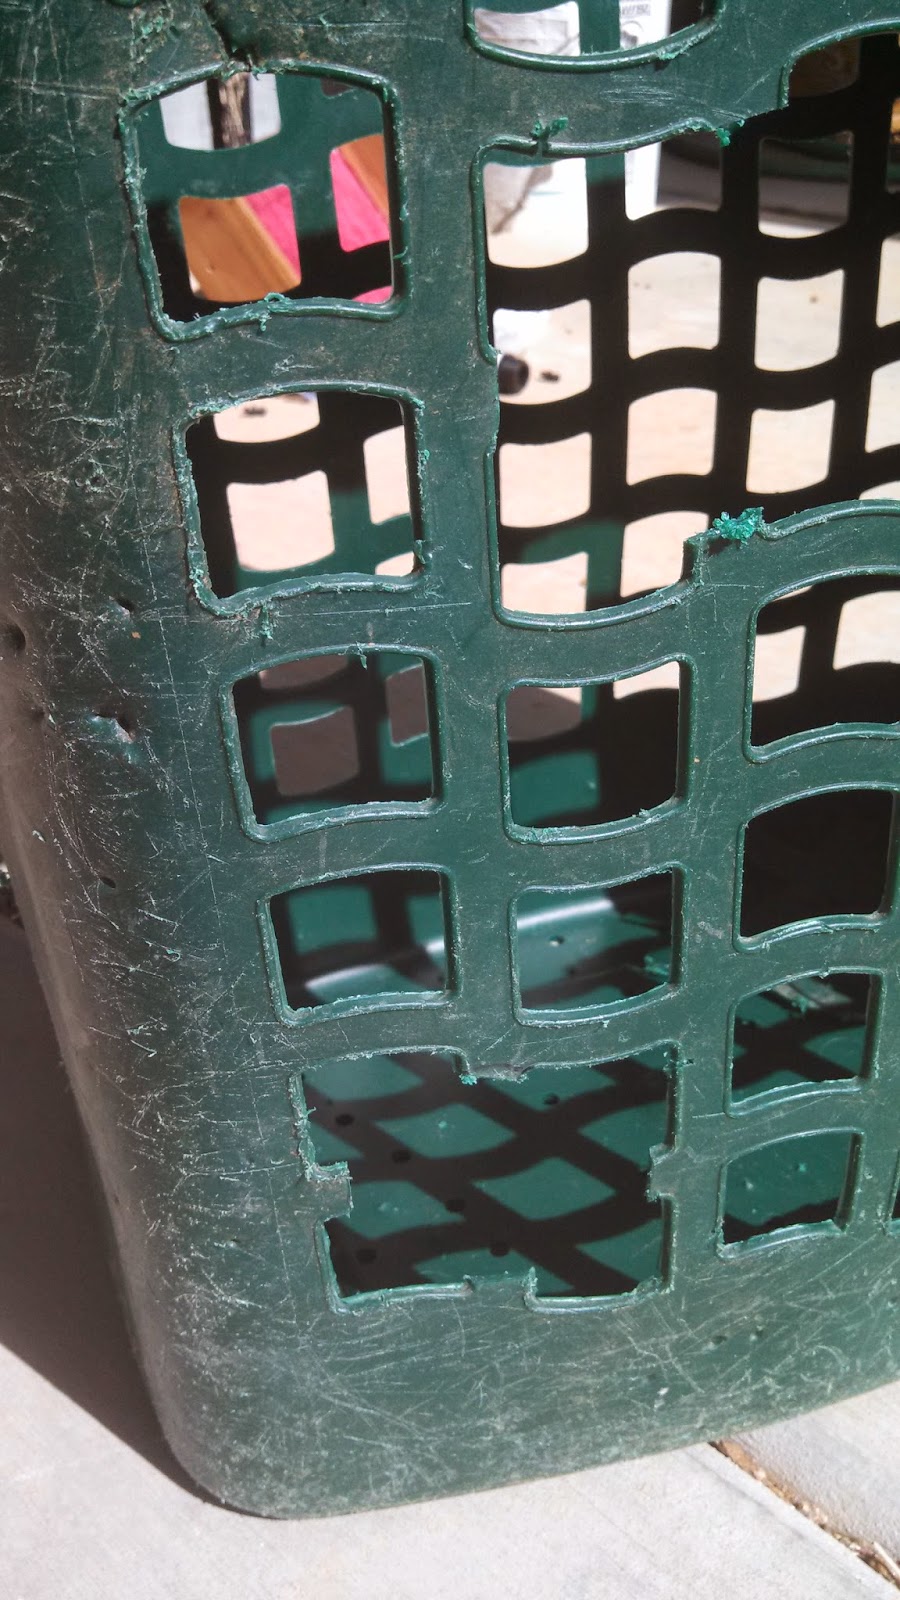
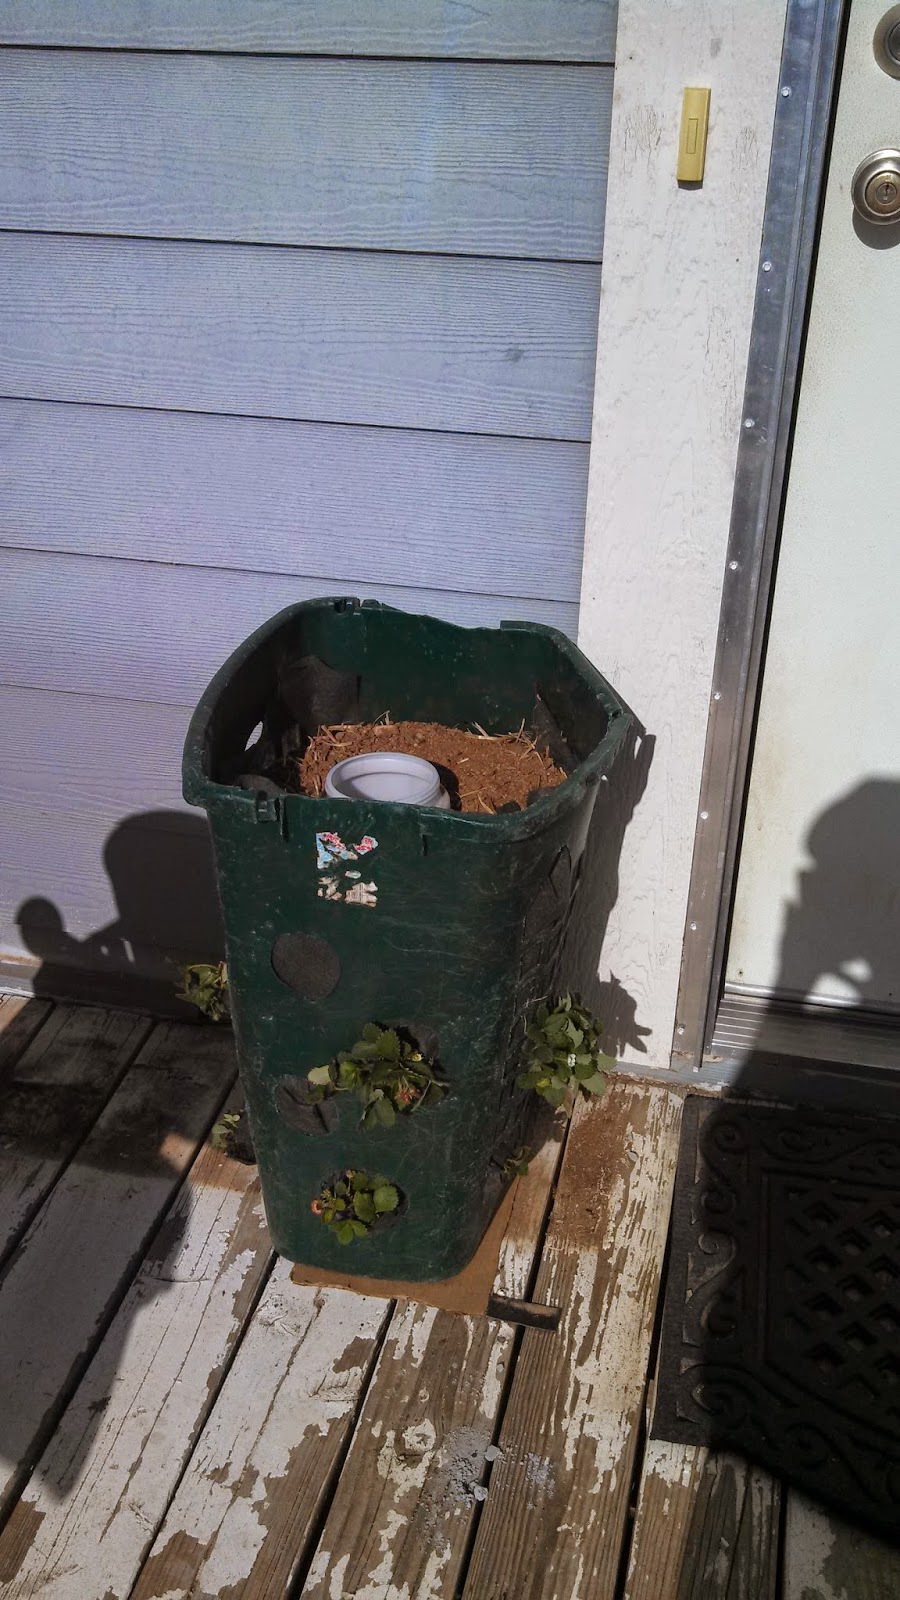
So if you joined us Yesterday, You got to see the "Proto-type Redneck Version"!  It is Fantastically Functional- but Oh-So-Ugly!
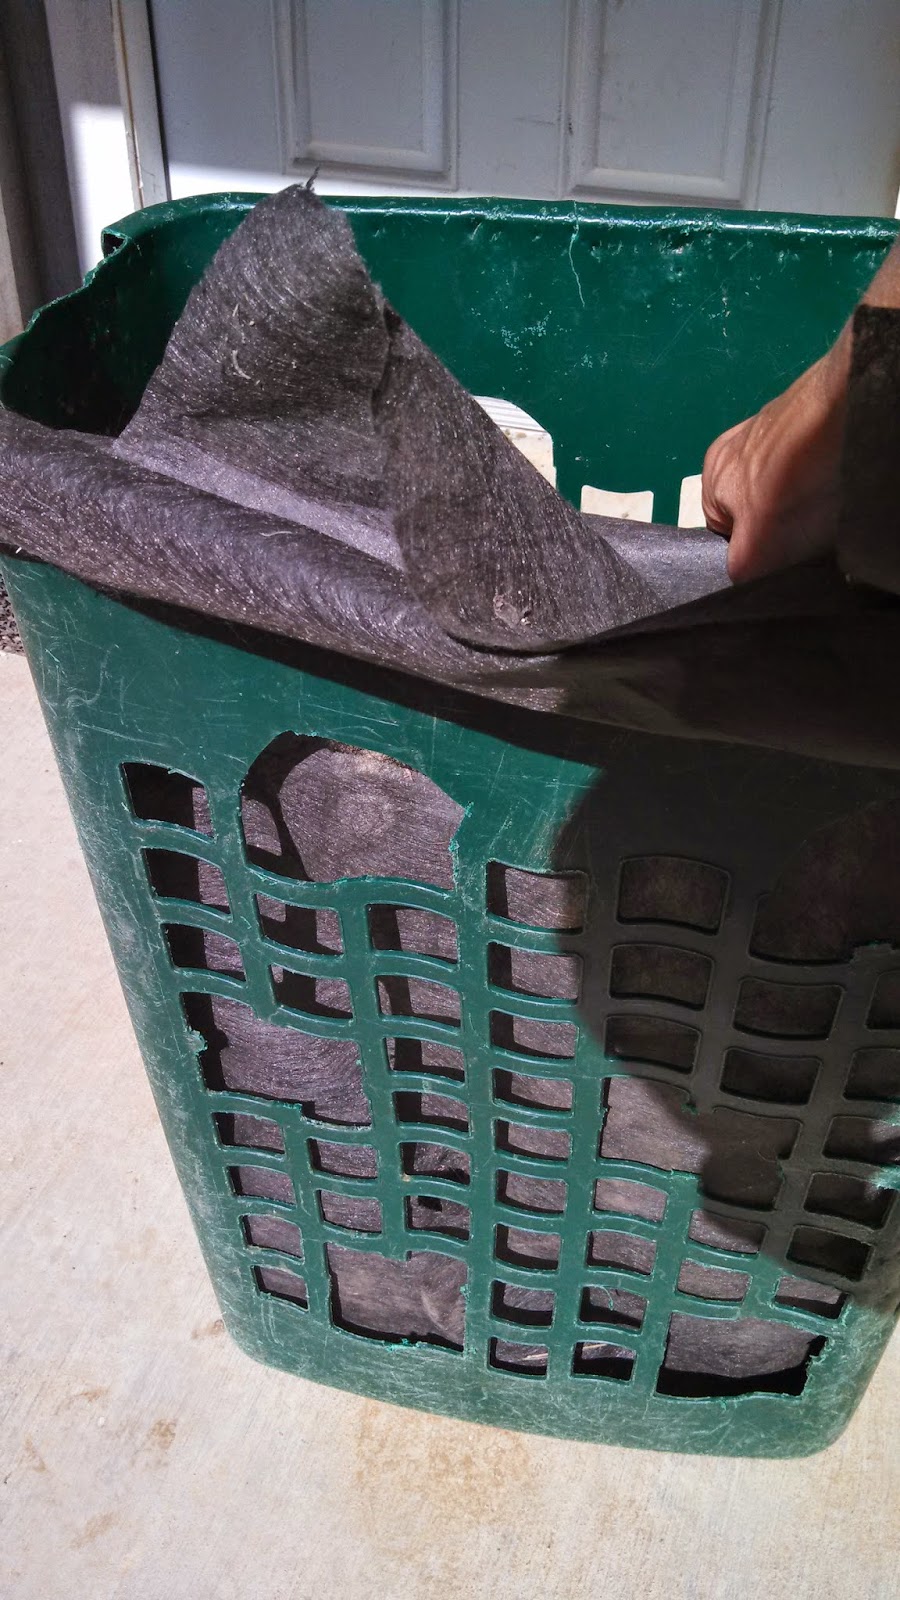
I made it out of an Old Laundry Basket- for just the cost of the Strawberries:)


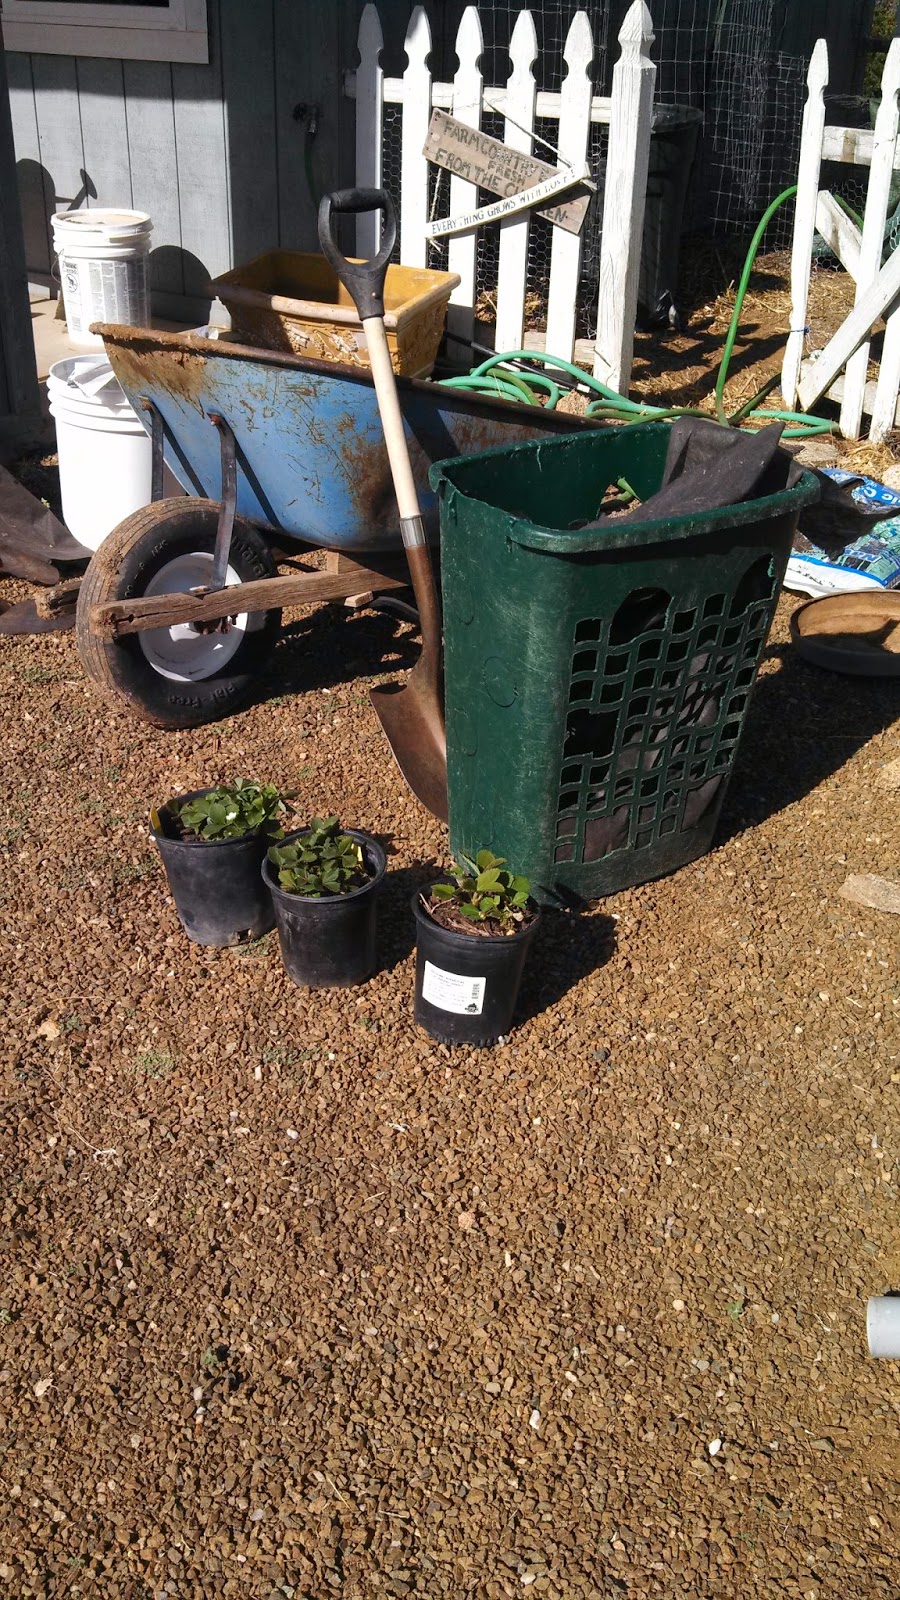
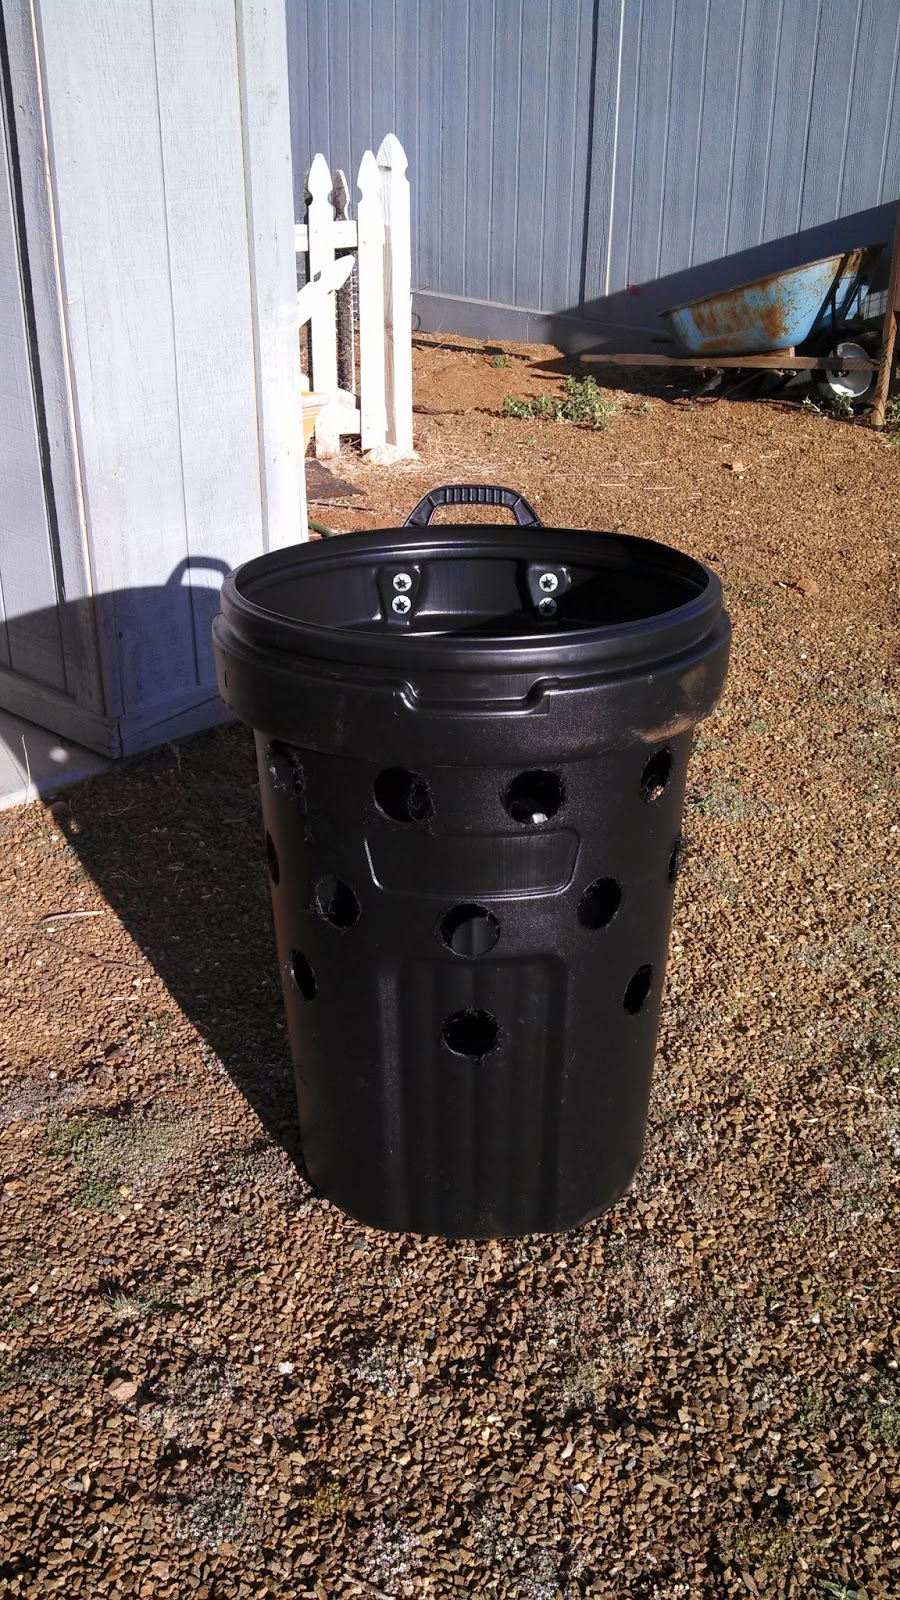
Once I got my Feet Wet- I decided to try one that I could put Proudly out in Front of the House.  So I started the Search for a Container.  
I SCORED these brand new wheeled Trash Cans for $11.95 each at Ace Hardware....I was so excited I bought three!
The advantage is I can 'Roll' them into the garage over the Winter!  BONUS!


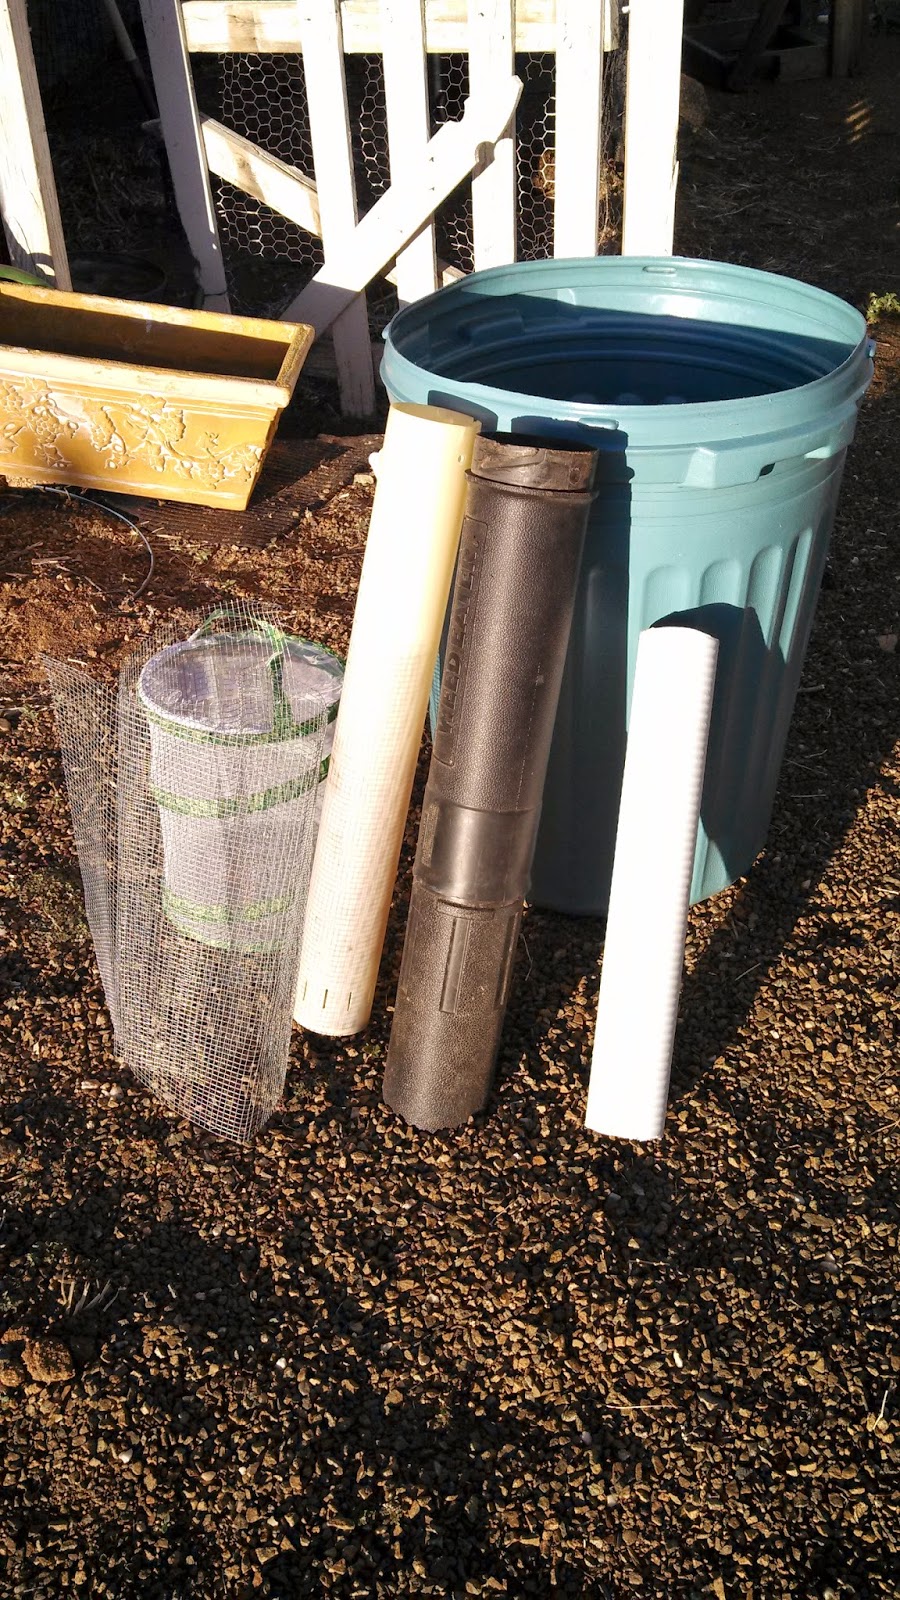
Next....I gathered my supplies!
You'll need:
A Drill
a 1/4 inch Drill Big
1 Ruler
Duct Tape
A Sharpie
A Circle-Cutty-Attachment-Thingee for your Drill...Mine is 2 1/2 inches
Some Recycled Plastic Gallon Containers
A Long 'Pipe'....I used a 4 inch PVC pipe from the Trash:)
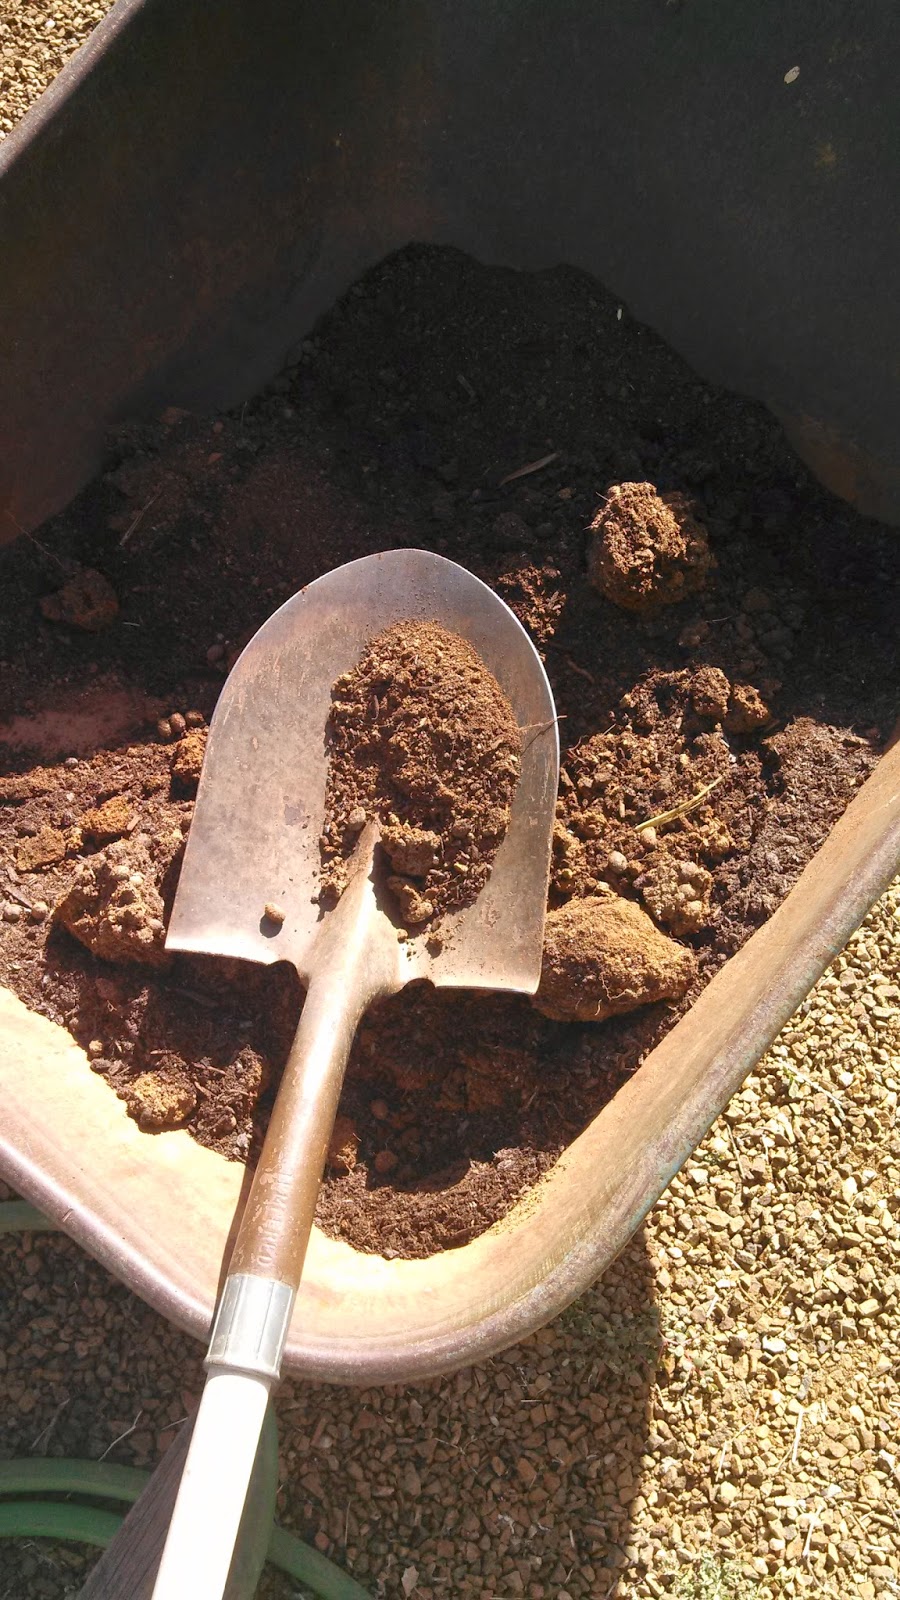
Compost


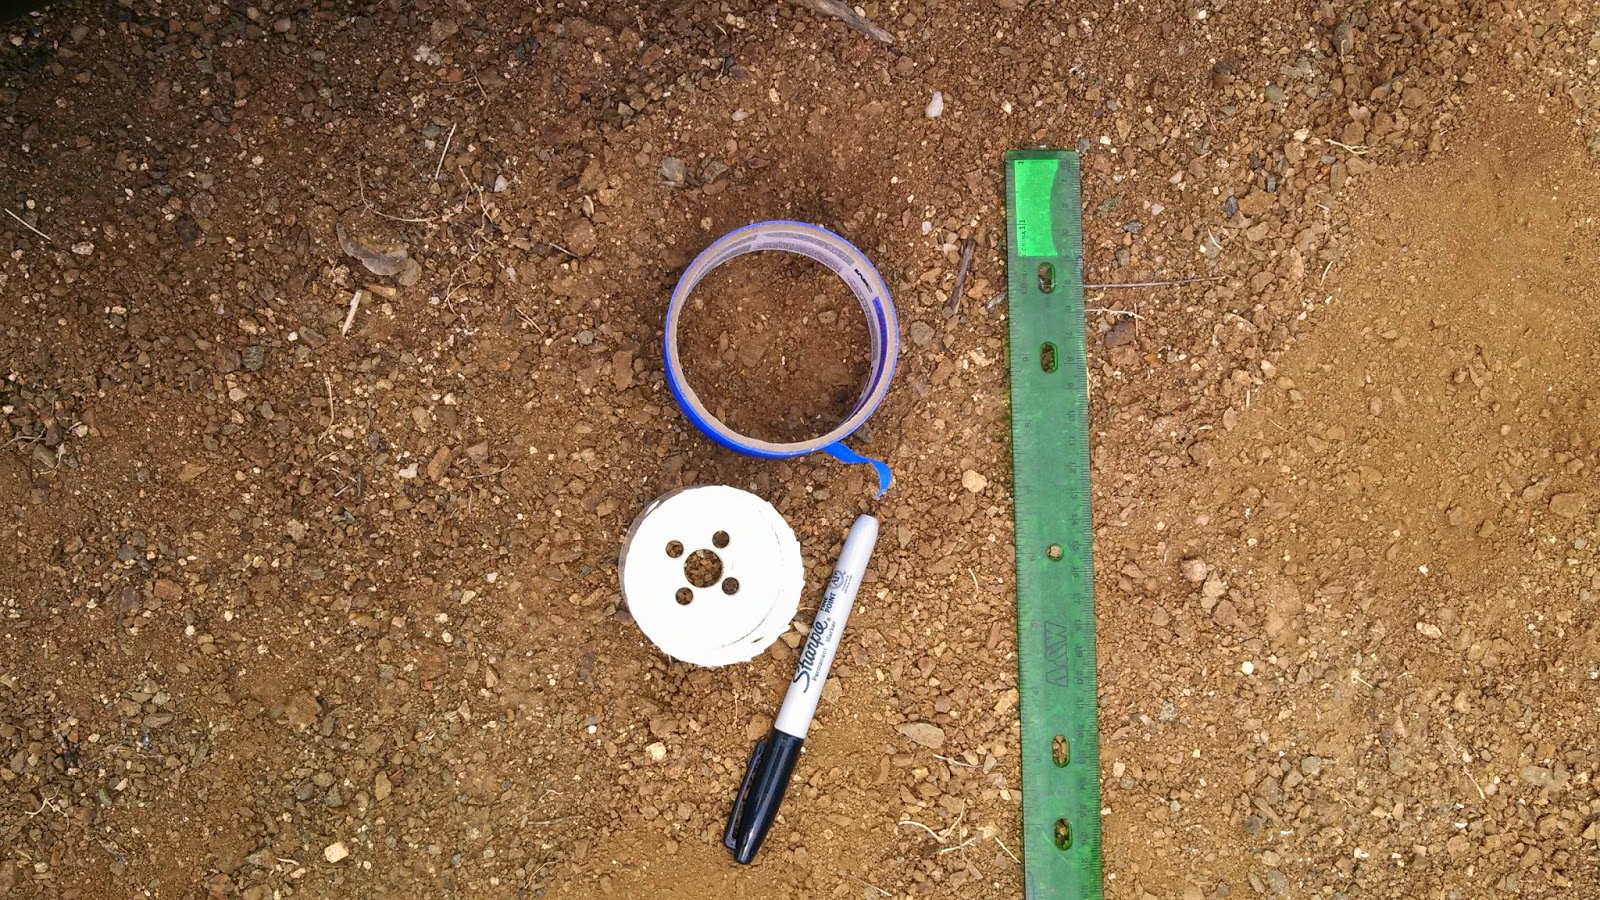
I Actually went out and Treated myself to this Circle Saw thingee....Be advised- you need a 'Base' for these...I had to make a 2nd trip to town for it.  Thank Goodness my Ace Hardware Guys speak "Clueless Chick Speak"


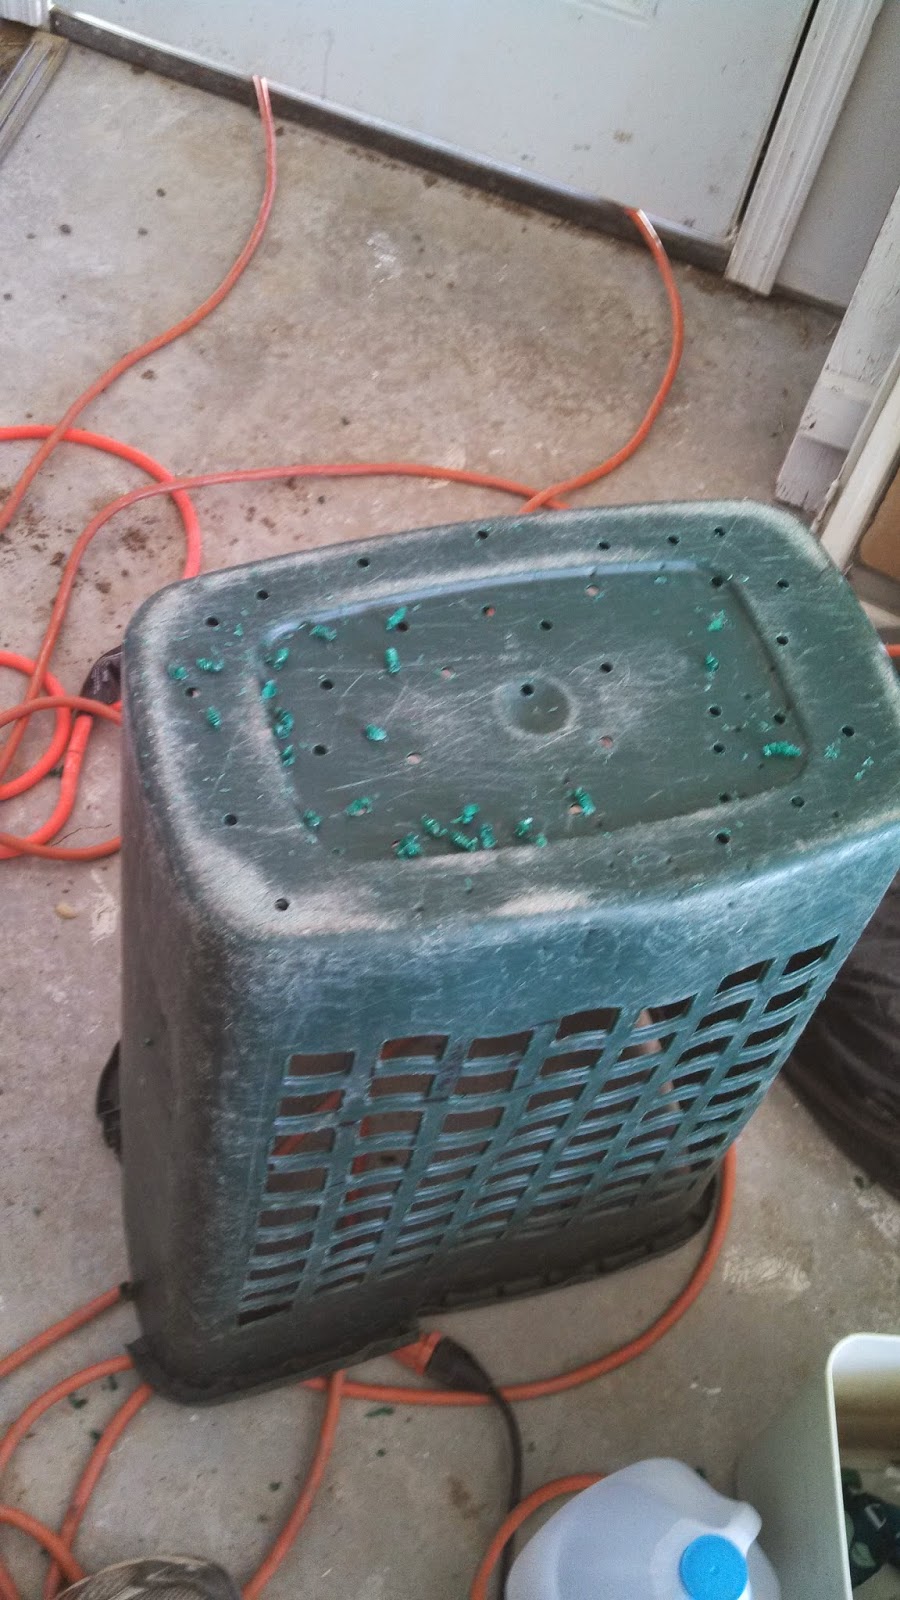
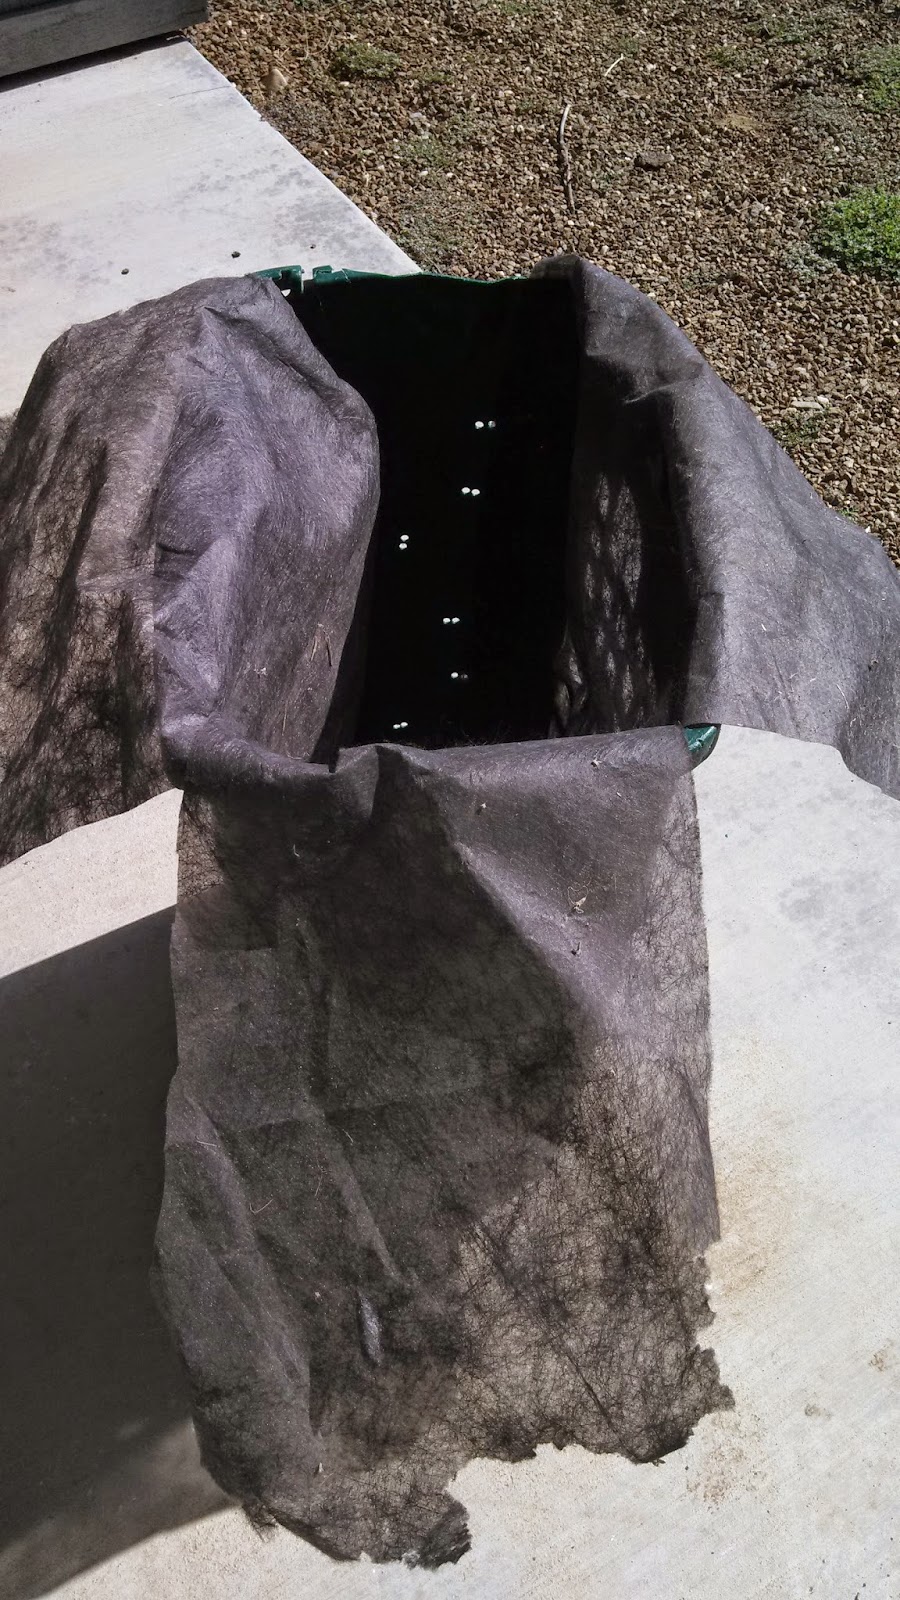
My First Step was to Drill a whole bunch of 1/4 inch Holes in the Bottom of the Barrel.  At least 20 of them.


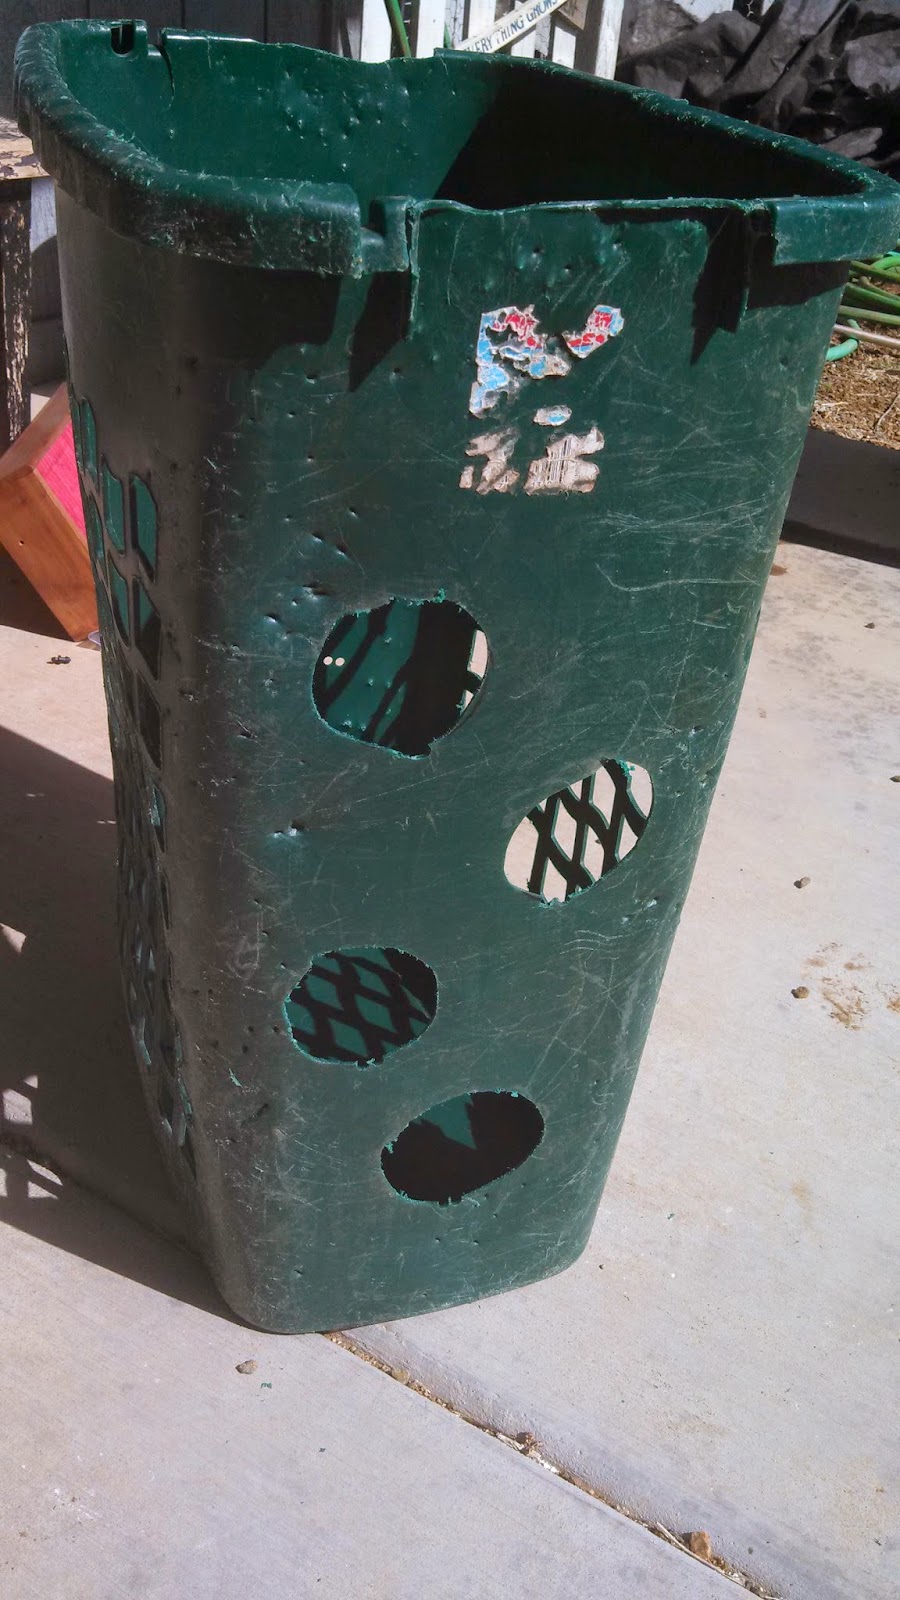
Next- I had to Decide where I wanted my Holes.  I chose a 2 1/2 inch Circle and LOVE that it looks so Clean and Uniform....well worth the $20 for the Drill Attachment.  


I started at the Front/Center location.  I kept the holes at about midway up the Barrel with fewer holes on the bottom row.  I used a Strip of Painters Tape- I marked off the distance between the circles AND where the Center of the Hole would be so I could mark where the Center of the Drill bit would go.


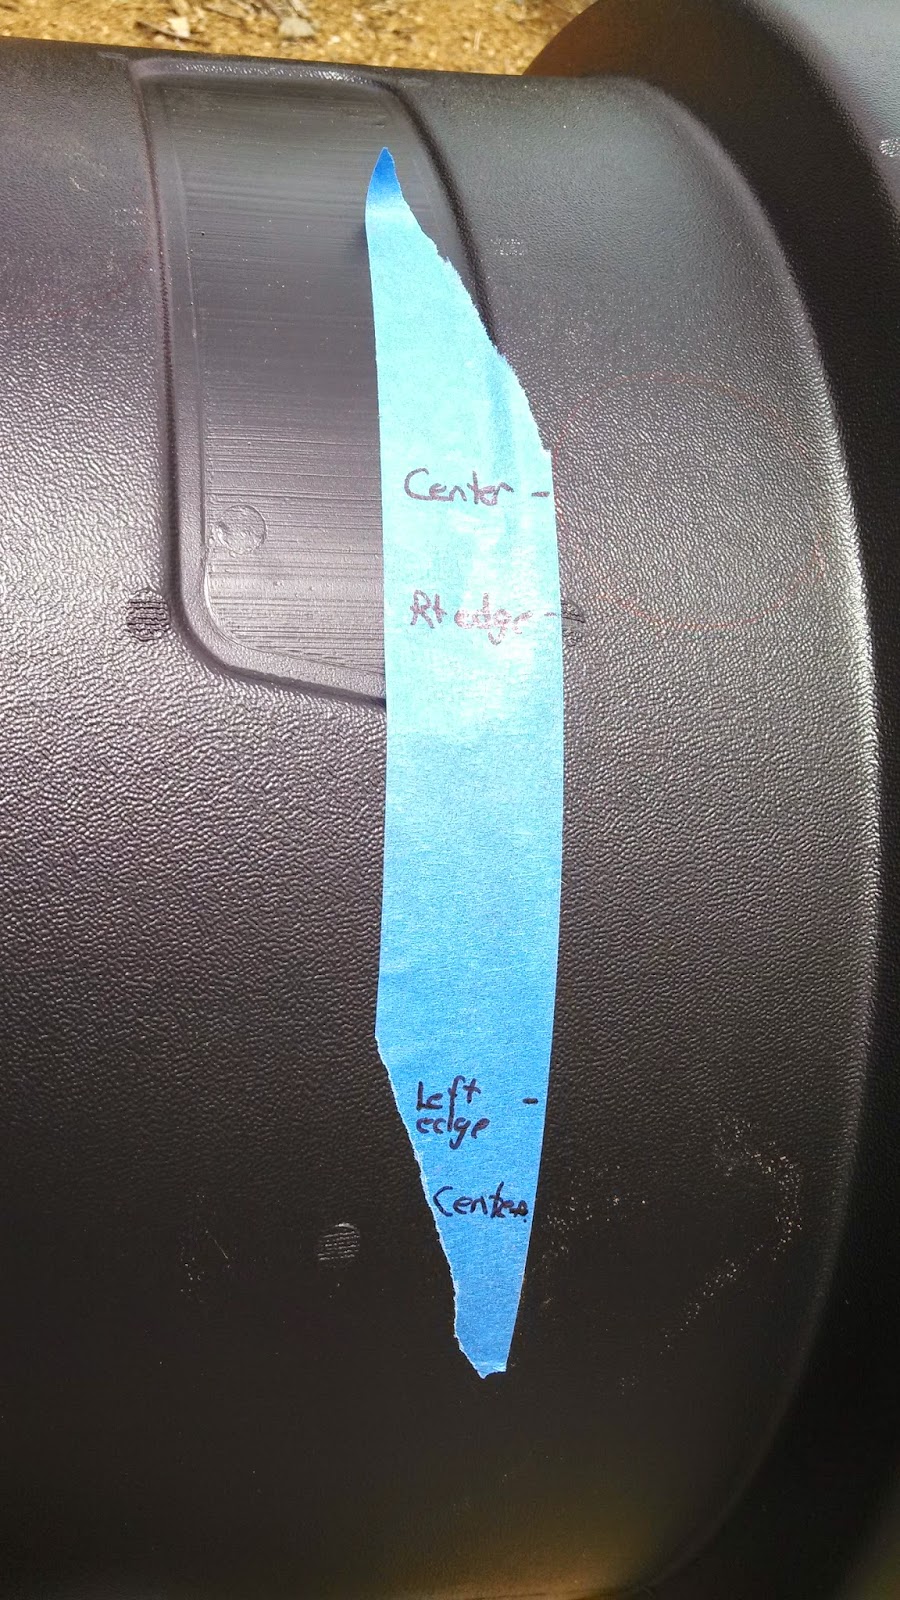
I messed up a few times....so be sure to "Measure Twice, Cut Once"!


Make sure to wear safety glasses when you Cut your holes- those little Plastic Bits go Airborne!
They looked like this at first....


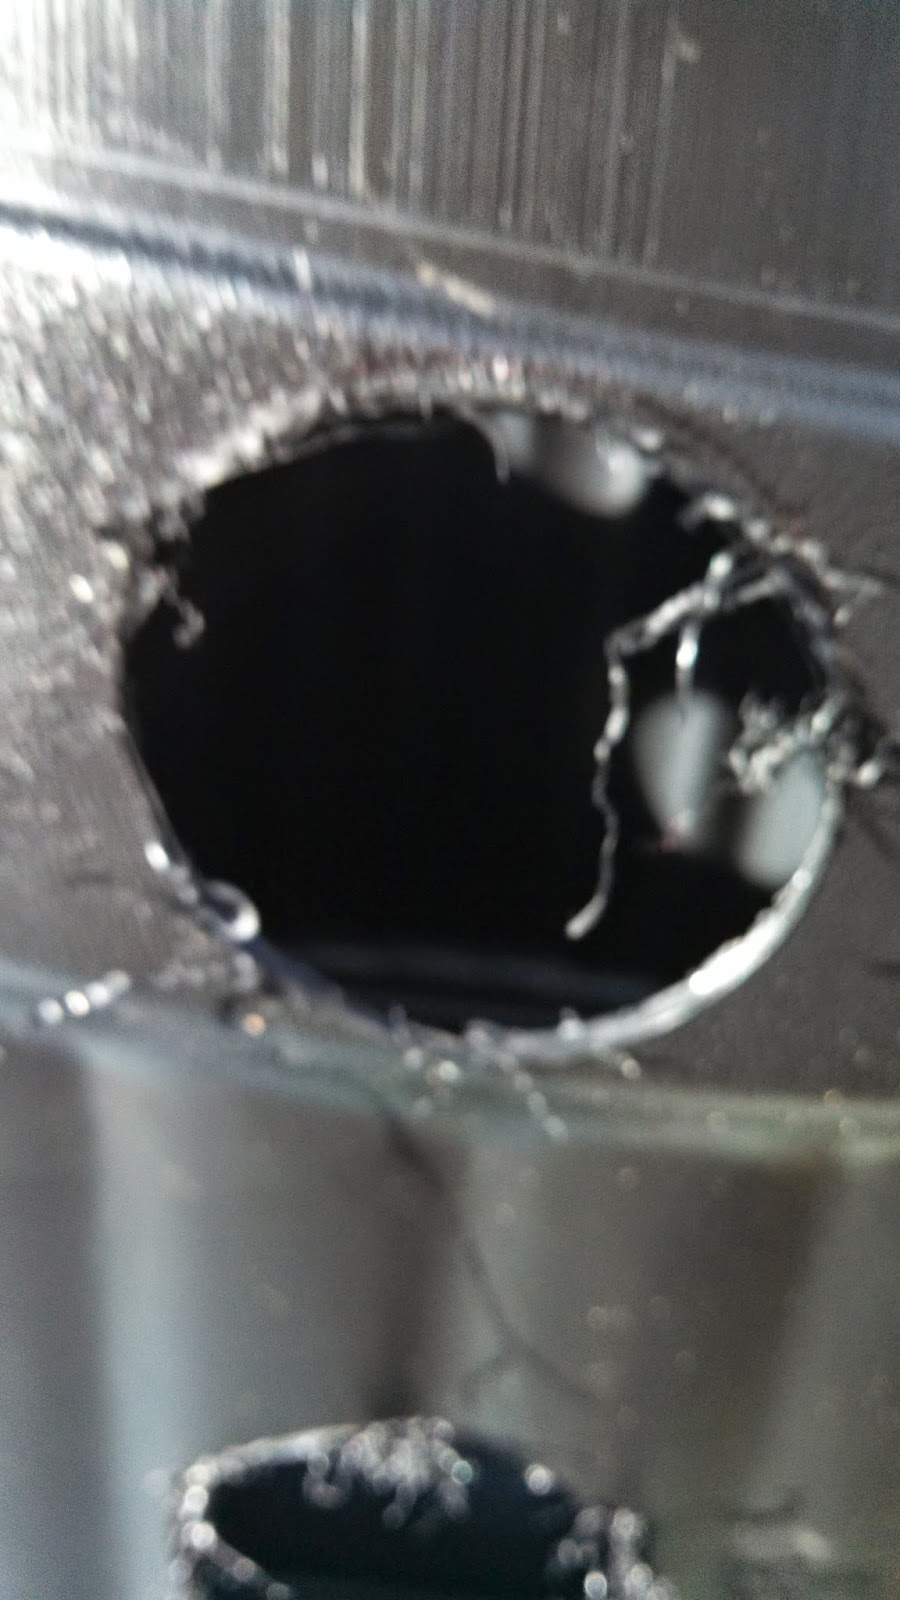
So I grabbed some Sand Paper and smoothed it out. I think it was "80 Grit".


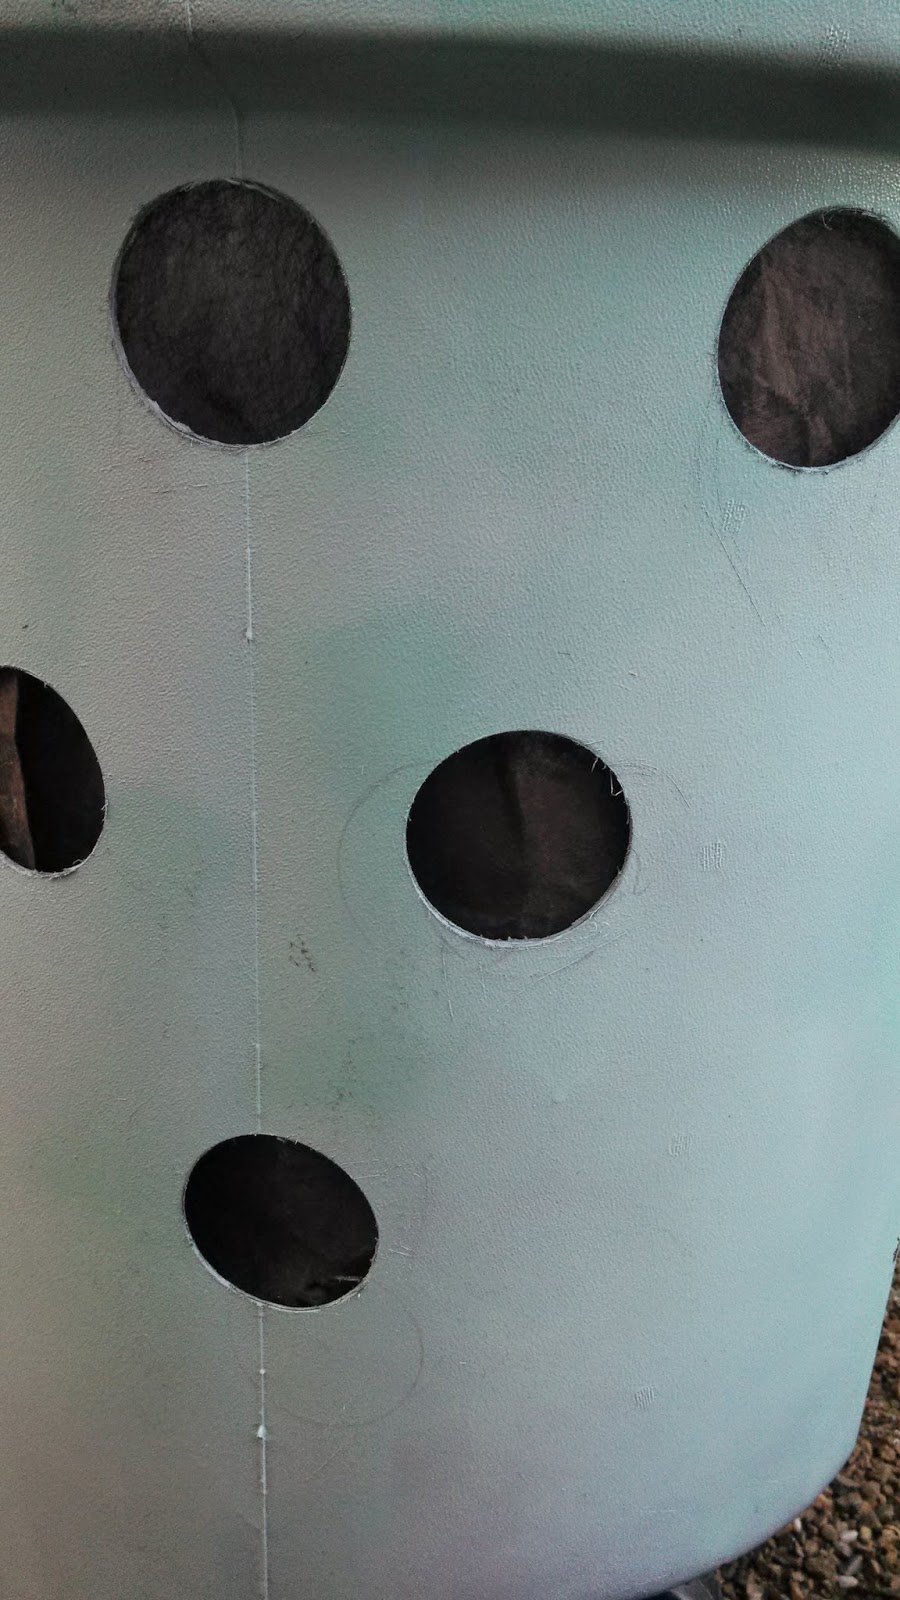
Notice I didn't go ALL the Way  around- I left at least 1/3 of the Back of the Barrel solid for Structural Integrity.  And I learned my Lesson from the Ugly One..I taped the liner down so it wouldn't blow all-the-heck-over-the-place...


Now- the FUN Part!!!  Girl- you know I love Spray Paint!!!


 It took TWO good Coats:) I was suprised how easy the Paint went on.... It's starting to Look like Something!!
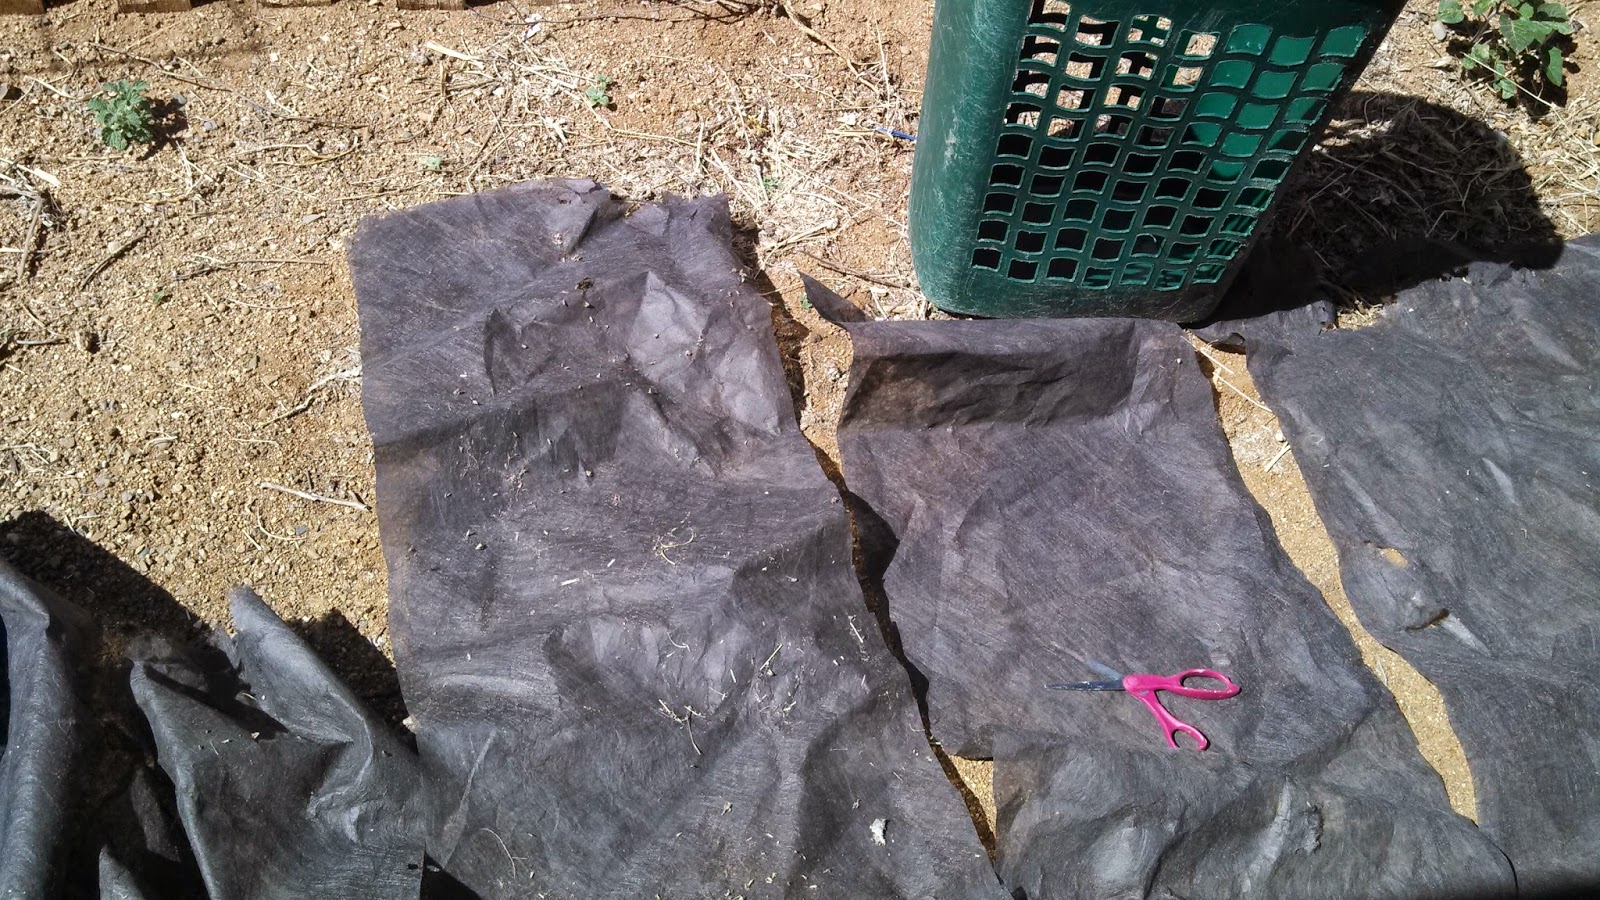
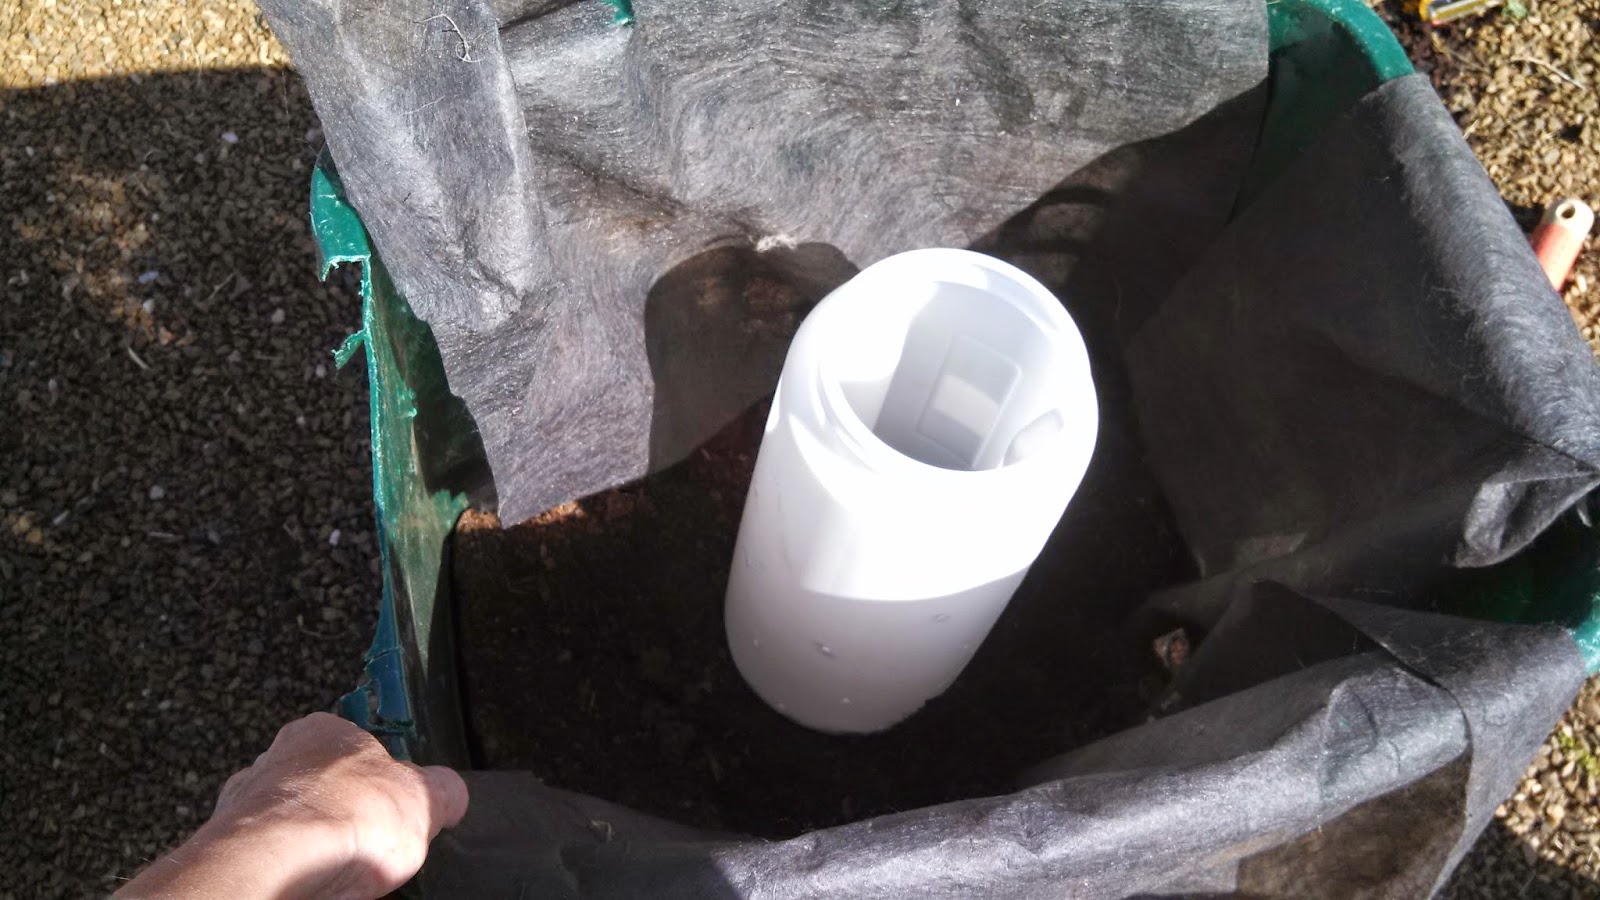
So Next- I lined it with some more of my Weed Control Fabric.  I had it laying around- you may want to get a Roll as it is Great for a Lot Different Uses.


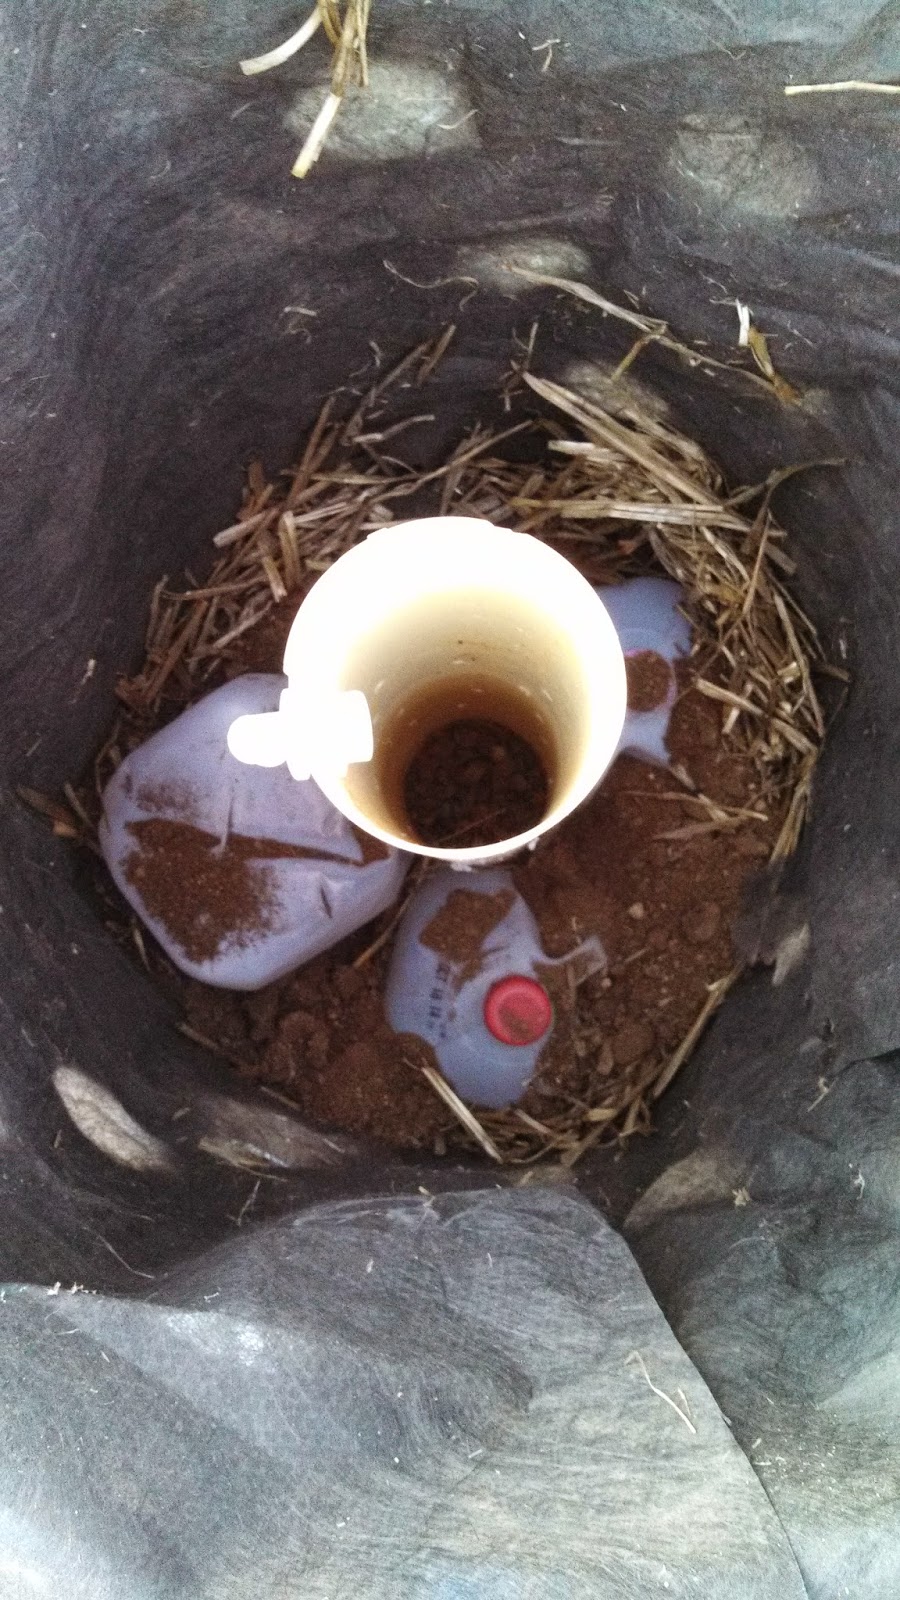
NEXT-  Thanks to the Marvels of Pinterest...I filled the Bottom 1/3 of the Barrel with Empty Recycled Milk and Detergent Containers!!!  Brilliant!  It makes the whole thing Lighter and uses less Precious Compost!  Woohoo!  I filled the back area where there aren't any holes:)


NOW- the Coolest Part of a 'Tower System'...the Central Watering Tube.  I picked up a Broken Piece of 4 inch PVC Pipe with an end cap at a Thrift shop- free...it was 'junk' to them.....(Score!) I got all of this for $5.00...and yes- that's an 'Already-A-Cute-Color' Trash Can just waitin' for some Love!


I Put a few well spaced 1/4 inch holes along the lower half of the Pipe and then spaced some on the Parts that faced the Holes.


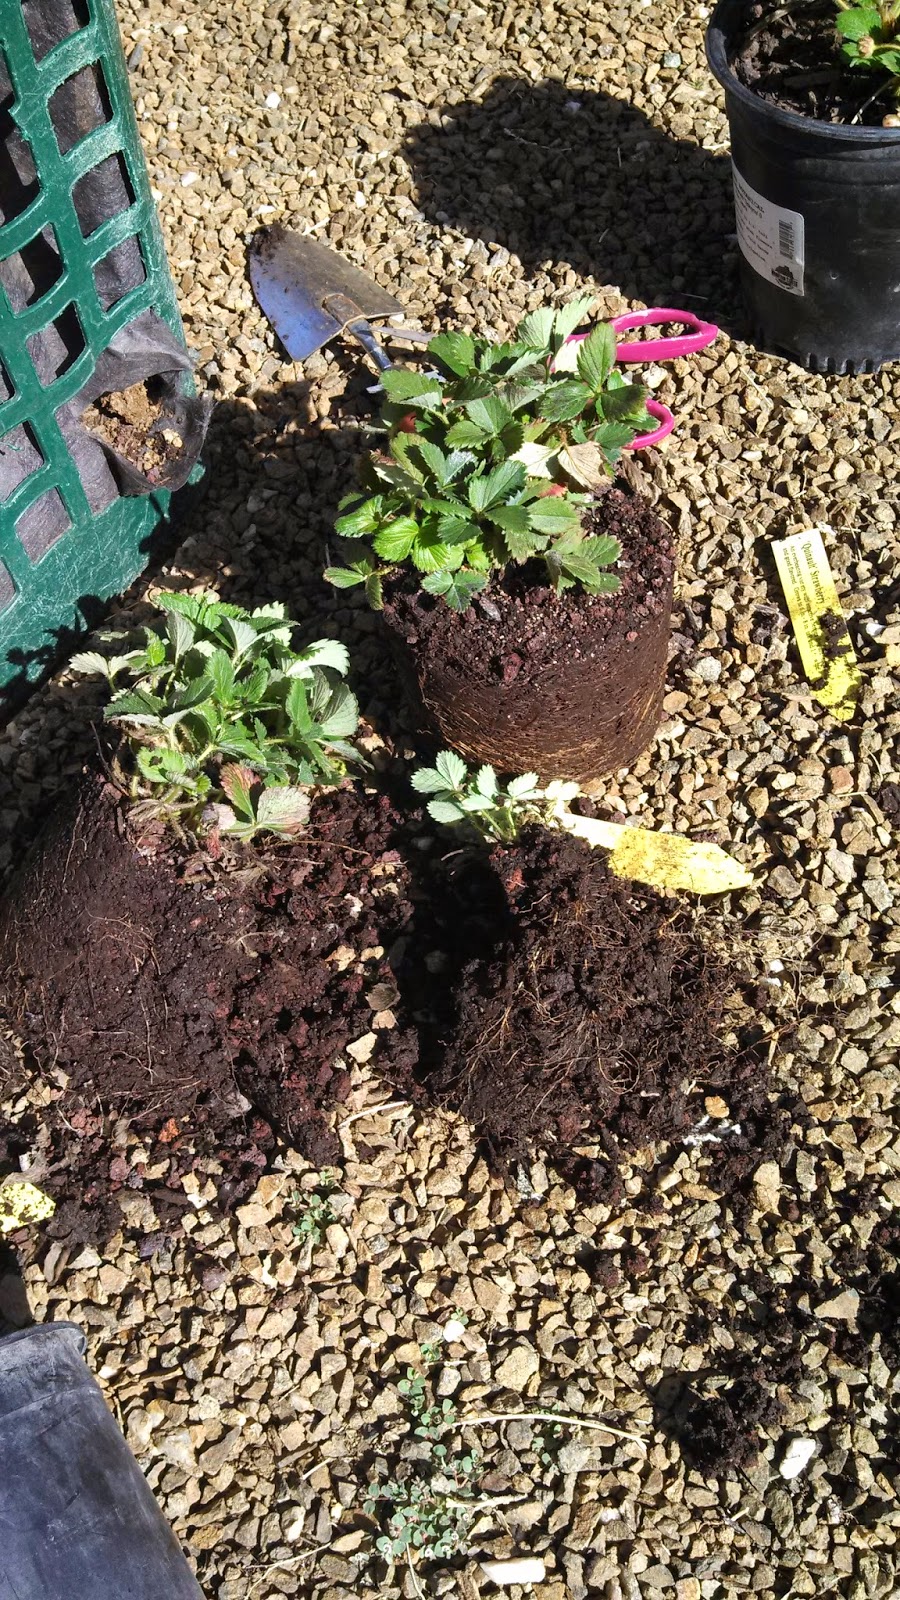
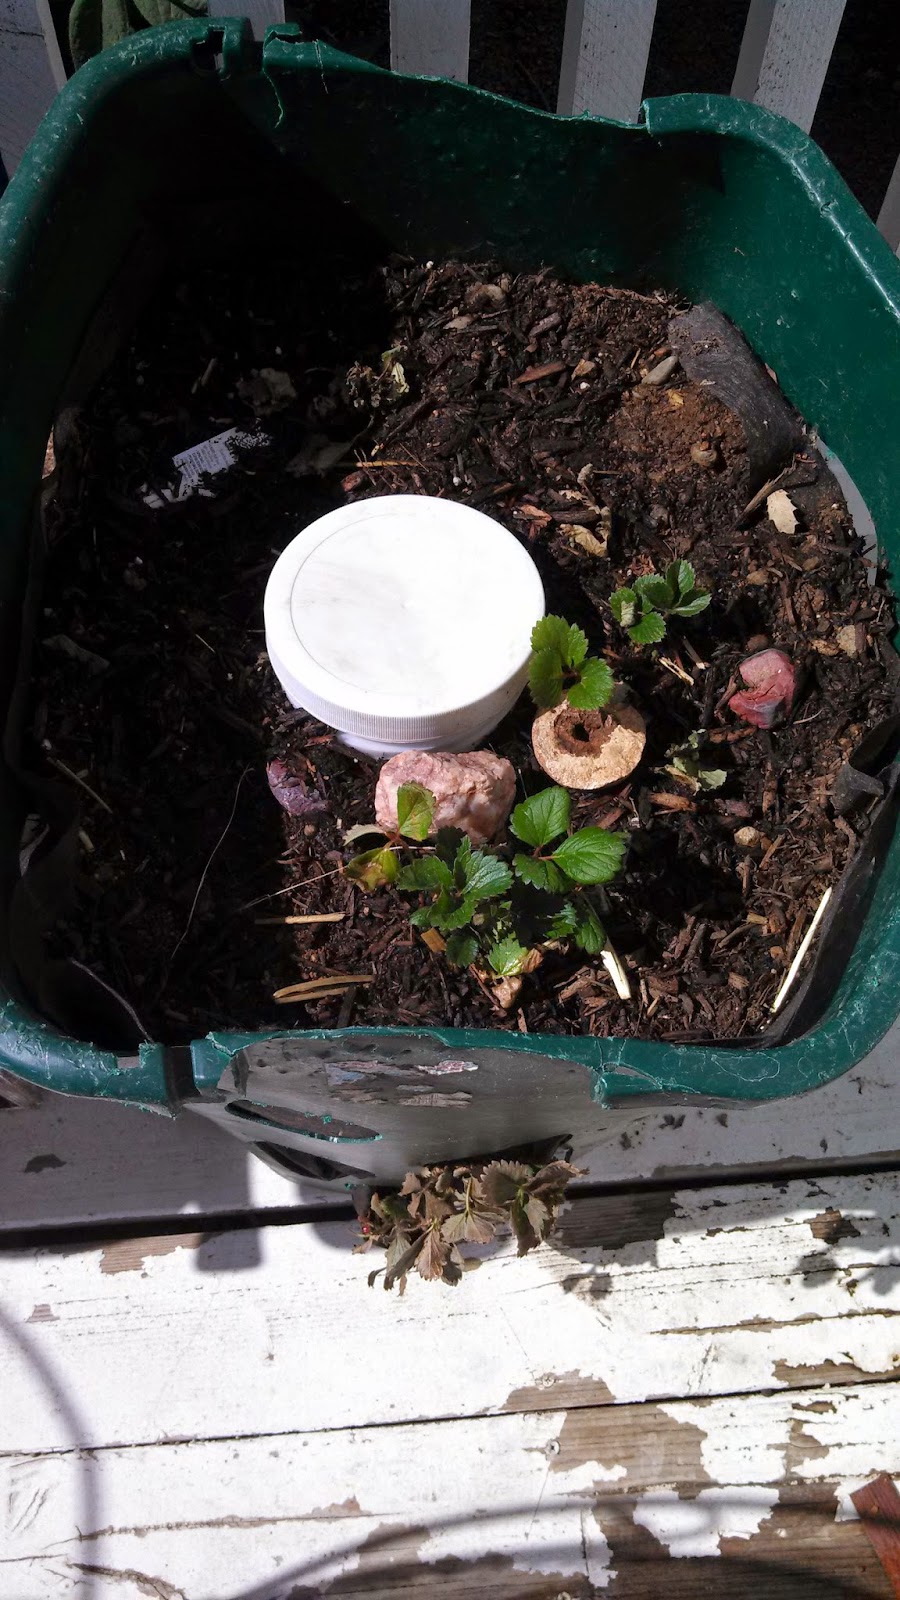
I filled it up to the base of the first holes.  Then it was Strawberry time! I was Lucky and was able to get 3- 6 packs of Strawberries so I didn't have to break up the roots like with these.  Forgot to Snap a pic of those! If you have the Larger Pots- you'll need to seperate the Wittle-bitty Roots...


Next- I made a Horizontal Cut in the Center of each hole and pulled the Weed Control Sheet out a bit to make a little "Shelf"....then I stuffed the Little Roots in and kept the Leaves on the Outside. The roots were just lying on the top of the Compost on the inside.  Then I added some Potting Soil around the roots for Moisture Control and then more Compost up to the base of the next row of Holes.


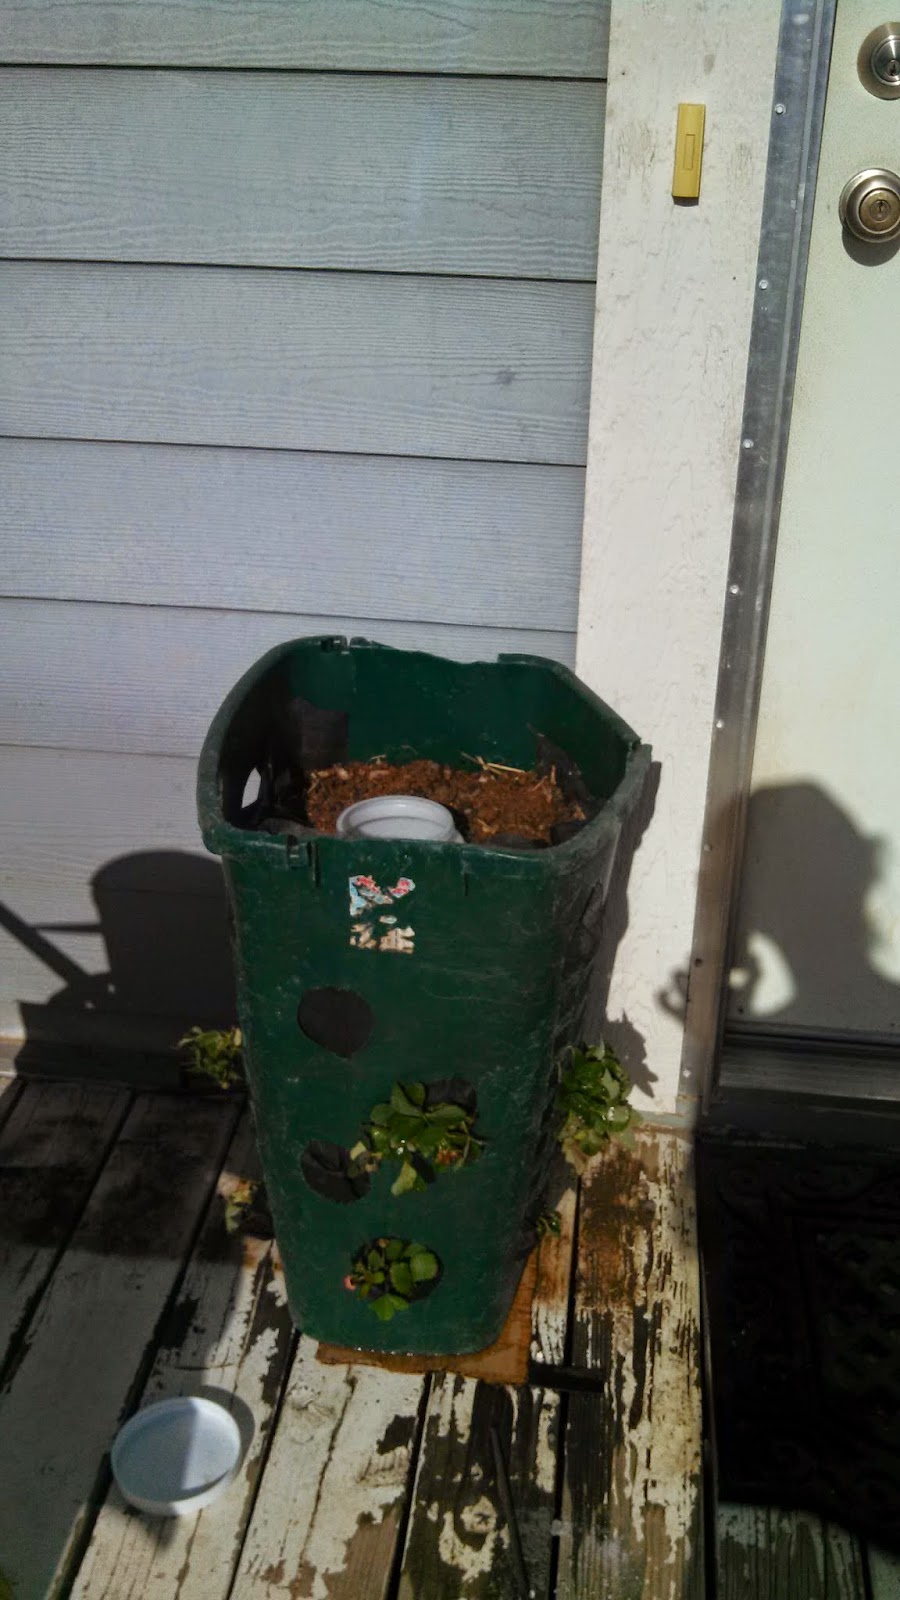
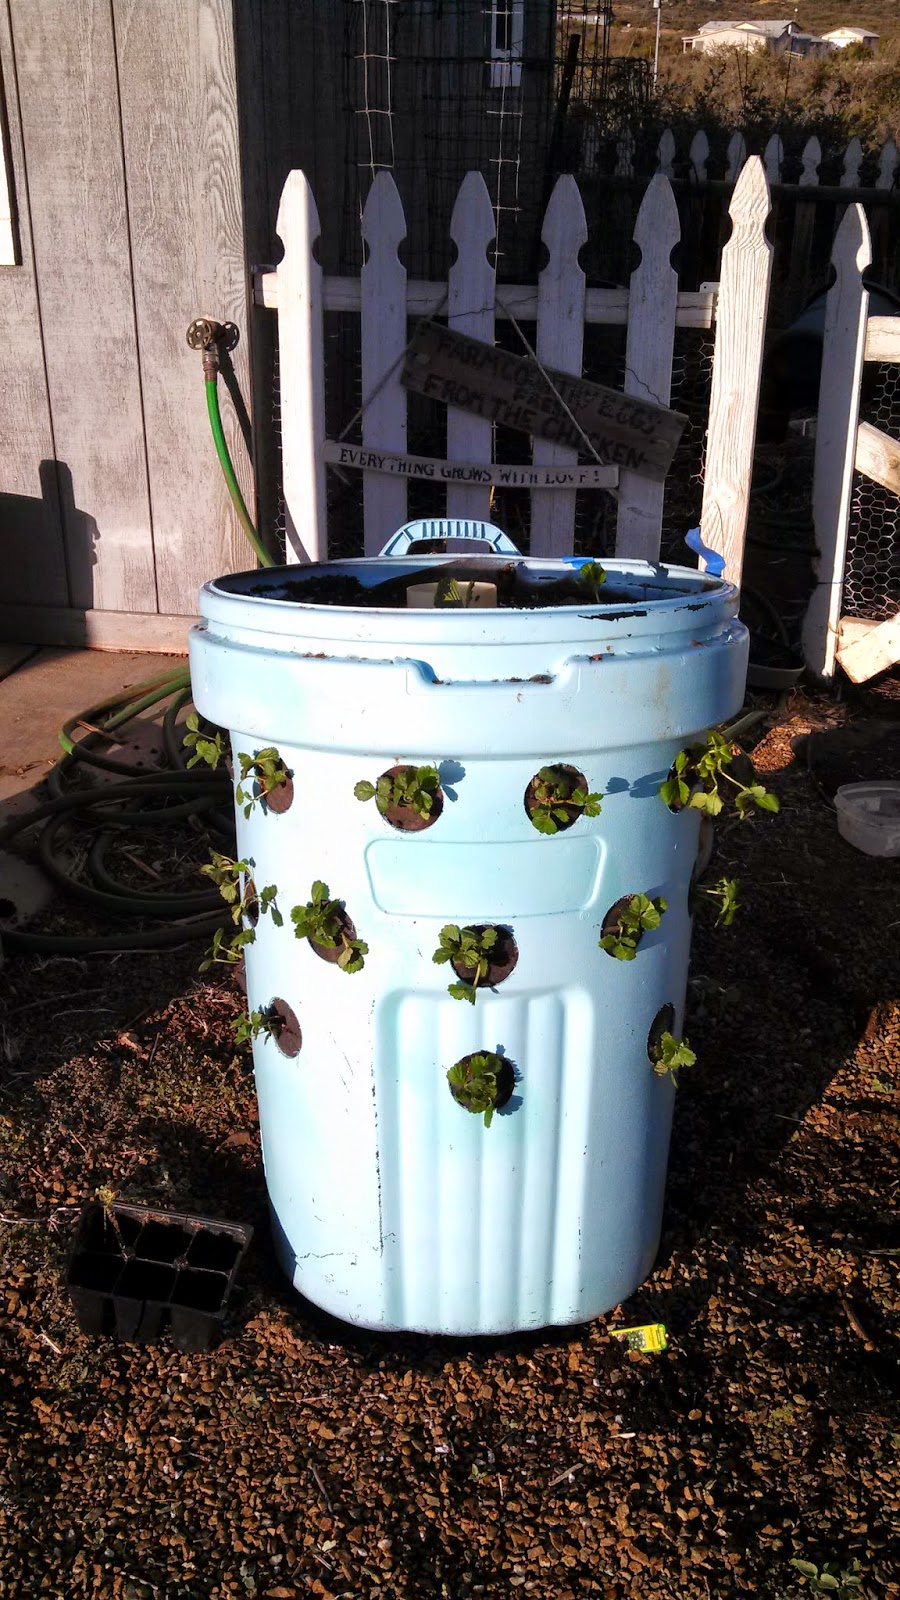
And Here is what She Looked like All filled Up!!!


Woohoo!  

Then I planted some more plants on the very Top of the Barrel and Voila!  Done!

Here are a Few Tips I would do Differently Next Time:

1.  I would make the Central Pipe Shorter- This one went almost to the Bottom and I felt like it drained too fast- so I filled it up a bit with Sand and Gravel and that slowed it down a bit- but I would go with a Pipe that was Half as Tall as the Barell to maximize Watering on the bottom holes.

 2.  Put your Barrel in a somewhat 'Shaded' area for a few days while the roots take.  Our Arizona sun was a bit too much and I lost a few Baby Plants from Scorch.


 All told- it was a really Fun Project and I was able to do it All by Myself!  AND- I could even move it because of all the Empty Containers in it:)  AND- I can Roll it into the Garage and Cover it up for the Winter and Bring it right back out next year! 


So- what do you think?  Would you try this one out?
Let me know! 

Love to all!


Thursday, May 29, 2014

"Redneck Strawberry Tower" Tutorial


Hey everyone!  I know it's been a while!  We Freibott's have just been enjoying life 'Chemo Free' and getting our youngest boy all Graduated from High School!  Woohoo!


If you've been wondering what I've been up to- I'm gonna give you a tour of my Gardening adventures for the next few days.  

You know I am a Pinterest Addict- and when it comes to Gardening- It's just as fun for me to be 'Researching' Gardening on Pinterest as it is to be out in the dirt:)

I read about Strawberry Towers and decided that up here in the High Desert of Arizona- they are definitely the way to go.  BUT- as I am very Frugal (Read Cheap) I wanted to try it without spending the $247.00 plus shipping that they wanted for the Fancy Shmancy one online.


 SO- Gather your supplies and Let's get Dirty!

Behold the 'Seen Better Days' Laundry Basket of Much Recylable-ness...Ya- it's Ugly!


The black stuff is left over Weed Control Cloth from another failed project.

I had to lay it out to find some straight pieces- but if you have to buy it I think its about 20 bucks for a 30 foot Roll.


The "Fancy Tower" had holes on the side for the Strawberries to stick out adding more Square Inch space. SO- Here is an old cup I found while pulling weeds- I grabbed a Sharpie and a Ruler and Drew some Circles.


Perfection was Obviously not the Goal...the Circles are about 4 inches apart:)  I Grabbed my Trusty Scroll Saw Thingee....


Here are the results- Again- I was NOT looking for Pretty!  I worked as quickly as was safe.


 Yup- again the goal is Function!  Next I just drilled a bunch of holes in the bottom with my biggest Drill Bit....the ones that come in the little round holder container-y thing...


Next I decided I needed bigger holes on the side for my Plants to stick out of.  I roughly chose a few "Windows" on both sides leaving at least  inches between them for 'Structural Integrity'.


Yup....Just Get 'er Done there girl....


Ok so here I lined the inside with my Weed Control Sheet.  In the Interest of spending as Little as possible, I would have used an Old Sheet if I hadn't had this.  It's Water Permeable, but will help keep the soil in.


Ok- BIG HINT-  Duck Tape that Liner in!!  It blew all over the place while I was trying to fill it and BUGGED the HECK out of me!!!

Here it is again...Flapping in the wind...


All the Pinterest 'Towers' had a Central Watering Tube which I think is Stinkin' Brilliant!  I had this Tupperware thingee that I got for a BUCK and have never found a use for....Excellent Repourpose Fodder!


 So I just Grabbed my Drill and a 'Medium-ish' Drill bit....there's my little Drill Bit Holdy-Thingee....


I filled the bottom with some Gravel so it wouldn't drain out so quickly...


Just about this time I lost my Safety Glasses and Had to waste 10 minutes looking for them....


Next, I mixed me up some Real Good Stuff....Finely Aged Organic Goat Compost....ya baby!  If you don 't have your own Goatie Goat- you could use this stuff...it's at that Store that starts with a Wal and is under 5 Bucks...


 So I put some Compost in the bottom and then set my "Water Tower" in there so the top would be just above the top of the soil line.


So here are my Strawberry Plants.  I REALLY wanted the little 6 packs, but we live out in the 'Plutacrats' as my Auntie M says....So this was the best I could do- I literally bought them out.


 I was SO stressed out dividing their little Roots- I felt like their little Plant Selves were screaming...:(  If you can, get the 6 packs!)


I just added Soil up to the Bottom holes, then Cut Holes in the Liner and laid the Wittle Baby Plants in side ways.  This was very stressful...I hear their little screams....The Seed Block Fabric is heavy enough that you can make a little ledge to catch water and support the plant.


After I added each layer of plants I added more compost/soil till it was filled to the top with the Water Cylinder in the middle.

Here it is all filled up.  My compost has straw in it so that will help with Water Retention too.  I left the lid on to keep things from Making a Home in the middle....:)


So there you have it folks!  I got a Large Boy to move it to my Front Porch....we live in the Country so there are no Associations or Nosy Neighbors...

Realize this is just the Proto-type.  Proof that you Can
 "Use what you have".  Total Cost was Under $15.00 including Strawberry plants and one bag of Organic Compost.


Join me Next time when I use what I learned to make 
This Pretty One!!!


How is your Garden Doing?  If it was Cheap- would you Grow some of your own food?  Let me know!
 Love to All!